LocalTunnel vs ngrok vs LocalXpose - Which Localhost Tunnel is Best?
Comprehensive comparison of LocalTunnel vs ngrok vs LocalXpose for localhost tunneling. Compare features, pricing, protocols, and find the best tool.
Introduction
Choosing between localhost tunneling tools can be confusing when LocalTunnel, ngrok, and LocalXpose all promise to expose your local development server to the internet. This comprehensive comparison breaks down the key differences in features, pricing, security, and real-world use cases to help you pick the right tool for your needs.
Whether you’re testing webhooks, sharing demos, or running production tunnels, you’ll learn which solution offers the best value and capabilities for your specific requirements.
LocalTunnel vs Ngrok Overview
LocalTunnel and ngrok represent two distinct approaches to localhost tunneling.
LocalTunnel offers the fastest setup with zero configuration and no account required, but provides random URLs on each restart and no traffic inspection.
ngrok delivers enterprise-grade features including traffic inspection, request replay, and stable custom domains, making it ideal for webhook testing and OAuth integrations.
However, ngrok’s free tier is restrictive (1GB bandwidth, 1 endpoint) with usage-based pricing that adds up quickly.
LocalXpose: A Better Alternative to LocalTunnel and Ngrok
LocalXpose bridges the gap between LocalTunnel’s simplicity and ngrok’s enterprise features while addressing their key limitations. Unlike LocalTunnel’s random URLs and session-based tunnels, LocalXpose provides persistent connections with custom domain support.
Unlike ngrok’s bandwidth caps and overage charges, LocalXpose offers truly unlimited bandwidth on paid plans at the same $8/month price point.
LocalXpose also has comprehensive protocol support including UDP (which neither competitor offers), making it the only option for gaming servers, VoIP testing, and UDP-based IoT devices.
The platform combines a user-friendly GUI with advanced features like real-time traffic inspection, webhook replay, and a built-in file server for sharing directories directly over the internet.
Here is what a LocalXpose user had to say about the service on Hacker News:
For myself, the thing that impresses me most about the LocalXpose service, is that it is plug-n-play. I did not have to configure the ISP’s router to open any ports, didn’t have to turn off or limit the macOS firewall, didn’t have to open Mullvad VPN to local traffic or configure it in any other way, didn’t have to approve more than 3 connections in Little Snitch. These are the “pain points” that I’ve encountered in the past with apps of this nature.
LocalTunnel Overview
LocalTunnel is an open-source localhost tunneling tool that lets you expose local web services to the internet with minimal setup. Built with JavaScript and maintained by the community, it takes a minimalist approach that prioritizes speed and simplicity over advanced features. The tool works across all operating systems and provides a programmatic API for script-based tunnel creation.
Key Features
Here are some of the main features that are provided by LocalTunnel out of the box:
- Secure HTTPS for all tunnels
- Use the API to test webhooks
- Open-source and community-driven
- No account registration required
Pros
- Very easy to get started with, compared to the other two. With just two commands, you can expose localhost to the internet.
- Access localtunnel client through APIs
- LocalTunnel is free and open-source with no rate limits
Cons
- Too minimalist, things like custom domains or even request inspection are not available.
- Apart from the CLI, you can only access the tunneling client with JavaScript, C#/.NET, Go, and Rust.
- Each time you restart the LocalTunnel server, you get a new random URL.
- No file server.
Example Usage
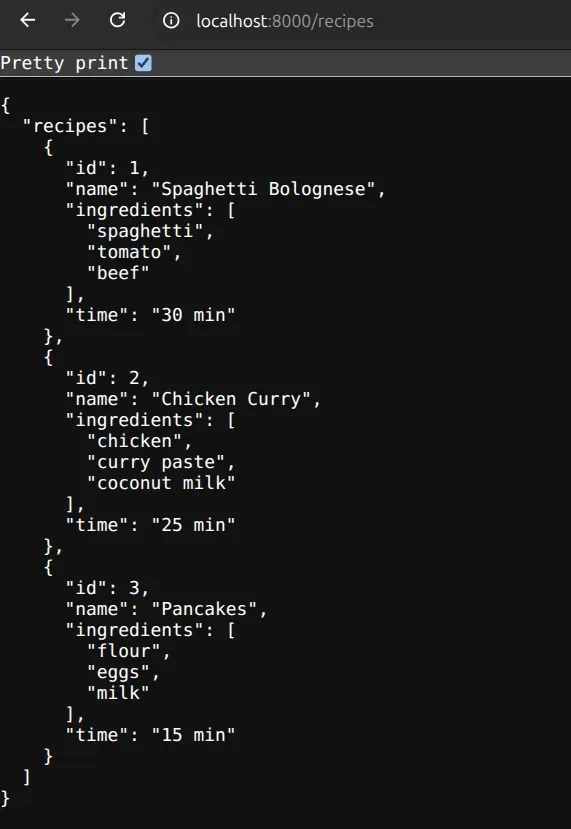
For the example here, you will be working with an API built with FastAPI. You don’t need to worry
about understanding the code. Just know that the API will be running on localhost:8000 with paths
/recipes and /recipes/{recipe_id}. To get started, paste the following inside a main.py file:
from fastapi import FastAPI, HTTPException

app = FastAPI()

# Hard-coded recipes
RECIPES = [
    {"id": 1, "name": "Spaghetti Bolognese", "ingredients": ["spaghetti", "tomato", "beef"], "time": "30 min"},
    {"id": 2, "name": "Chicken Curry", "ingredients": ["chicken", "curry paste", "coconut milk"], "time": "25 min"},
    {"id": 3, "name": "Pancakes", "ingredients": ["flour", "eggs", "milk"], "time": "15 min"},
]

# 1) GET all recipes
@app.get("/")
def get_recipes():
    return {"recipes": RECIPES}

# 2) GET a single recipe by ID
@app.get("/recipes/{recipe_id}")
def get_recipe(recipe_id: int):
    for r in RECIPES:
        if r["id"] == recipe_id:
            return r
    raise HTTPException(status_code=404, detail="Recipe not found")
Now you can create a Python virtual environment:
python -m venv venvNext, activate the virtual environment and install the dependencies with the following command:
source venv/bin/activate    # for windows: venv\Scripts\activate
pip install fastapi uvicorn
You can now run the code with the command:
uvicorn main:app --reloadNow open http://localhost:8000/ on your browser, and you should see your API running.
On another terminal/command line, install Localtunnel globally. This installation will require that NodeJS in installed on your machine.
npm install -g localtunnelSince our application is running on port 8000, the following command will tunnel to your local
server on 8000:
lt --port 8000 --local-host localhostYou may be requested to get a password as you see in the image below
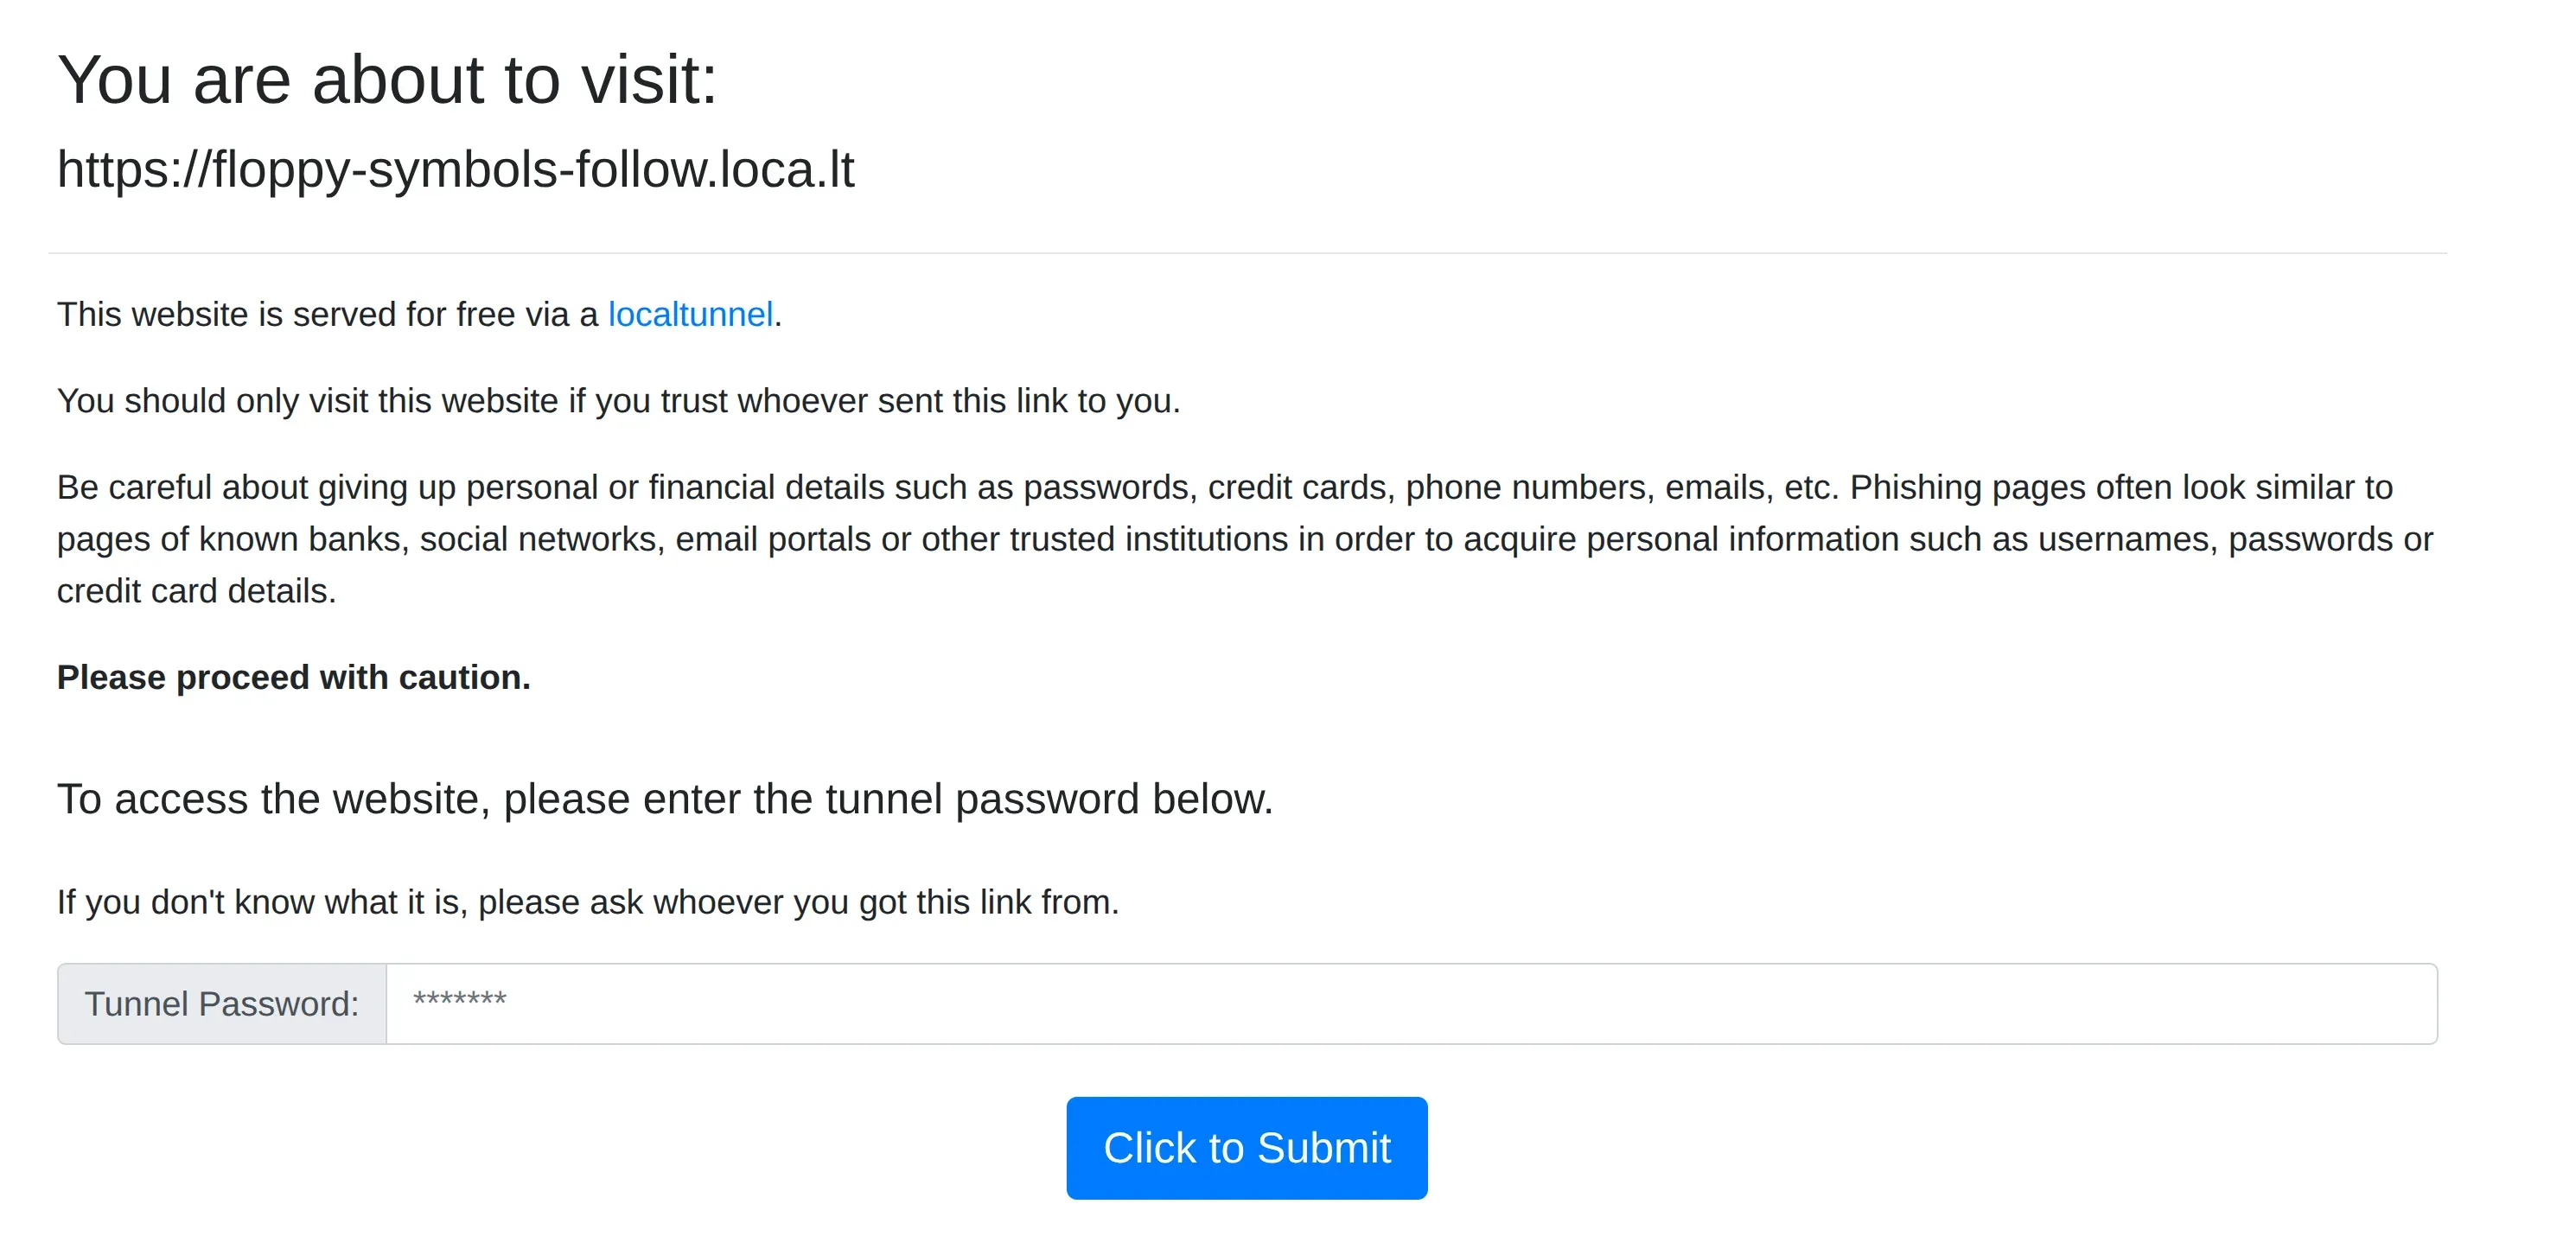 You can get the
password with the following command:
You can get the
password with the following command:
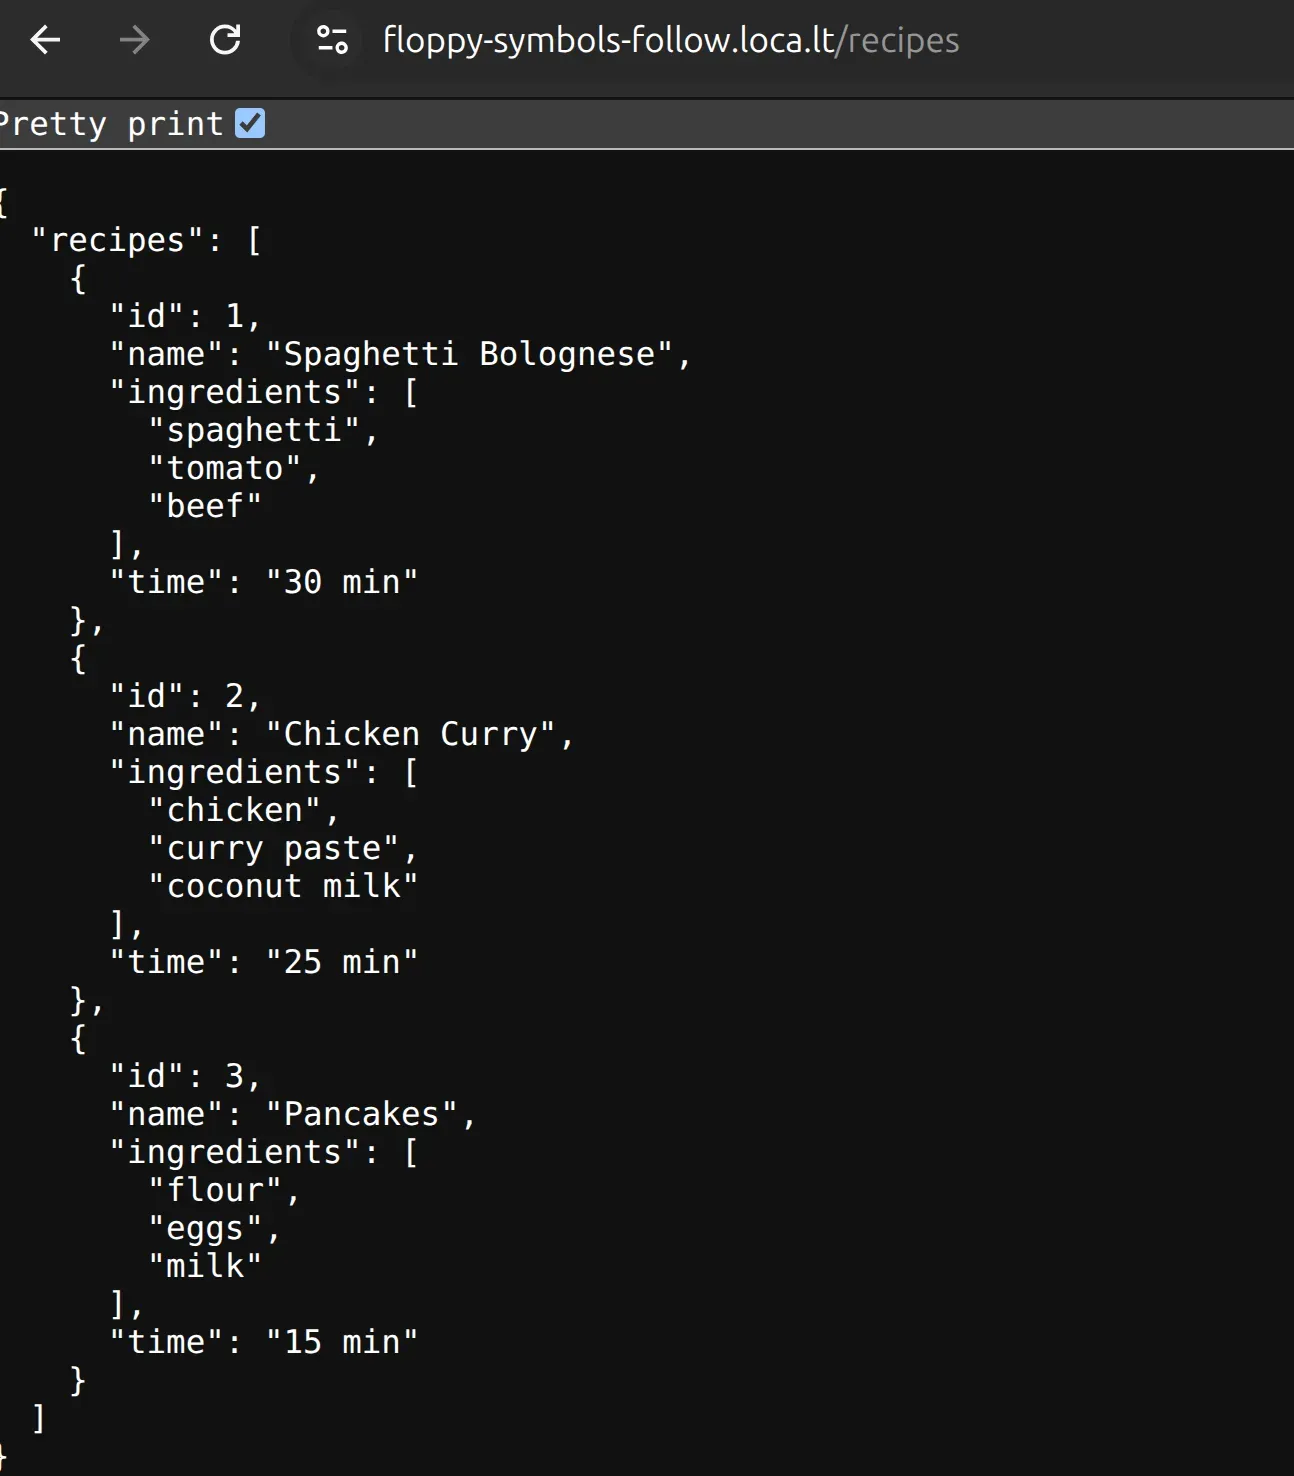
curl https://loca.lt/mytunnelpasswordYou can now input it in the form and access your API.
Ngrok Overview
ngrok is a well-established reverse proxy and API gateway that exposes local applications to the internet. Unlike traditional reverse proxies that forward to IP addresses, ngrok connects directly to your localhost application - meaning it tunnels to localhost:8000 rather than your machine’s external IP. This makes it ideal for development testing and webhook integrations.
Key Features
Here are some of the main features that are provided by ngrok out of the box:
- Site-to-site connectivity
- API Gateway
- Device Gateway (like IoT)
- Kubernetes Operator
- Global Load Balancer
- Identity-Aware Proxy
Pros
- Exposes localhost to the internet in seconds without any network configuration.
- Provides secure HTTPS URLs even for local HTTP servers, enabling testing of SSL-dependent features.
- Built-in web interface lets you inspect, replay, and debug HTTP requests in real-time.
Cons
- Free tier is extremely limited - only 1 active endpoint with 1GB monthly bandwidth cap.
- Most useful features require paid plans starting at $8-20/month.
- No UDP. Meaning that it does not support gaming, VoIP applications, or IoT devices requiring UDP protocols.
- Does not support unlimited bandwidth.
- No file server support. So you must run a file server locally, then expose it with ngrok.
Example Usage
In this example, we will see how we can use the ngrok Agent. Ngrok agent is a lightweight CLI tool that forwards traffic from your localhost to the internet. We will still work with the recipe API we used earlier. To get started, you need to create an account on ngrok to get your token, which will be needed later on.
Next, install ngrok on your local machine using snap:
snap install ngrokNow connect your agent to your ngrok account by running the command below. Replace <YOUR_TOKEN>
with the token from your dashboard.
ngrok config add-authtoken <YOUR_TOKEN>Now, assuming your API is still running on port 8000, run the following command to start the ngrok
agent to put your app online.
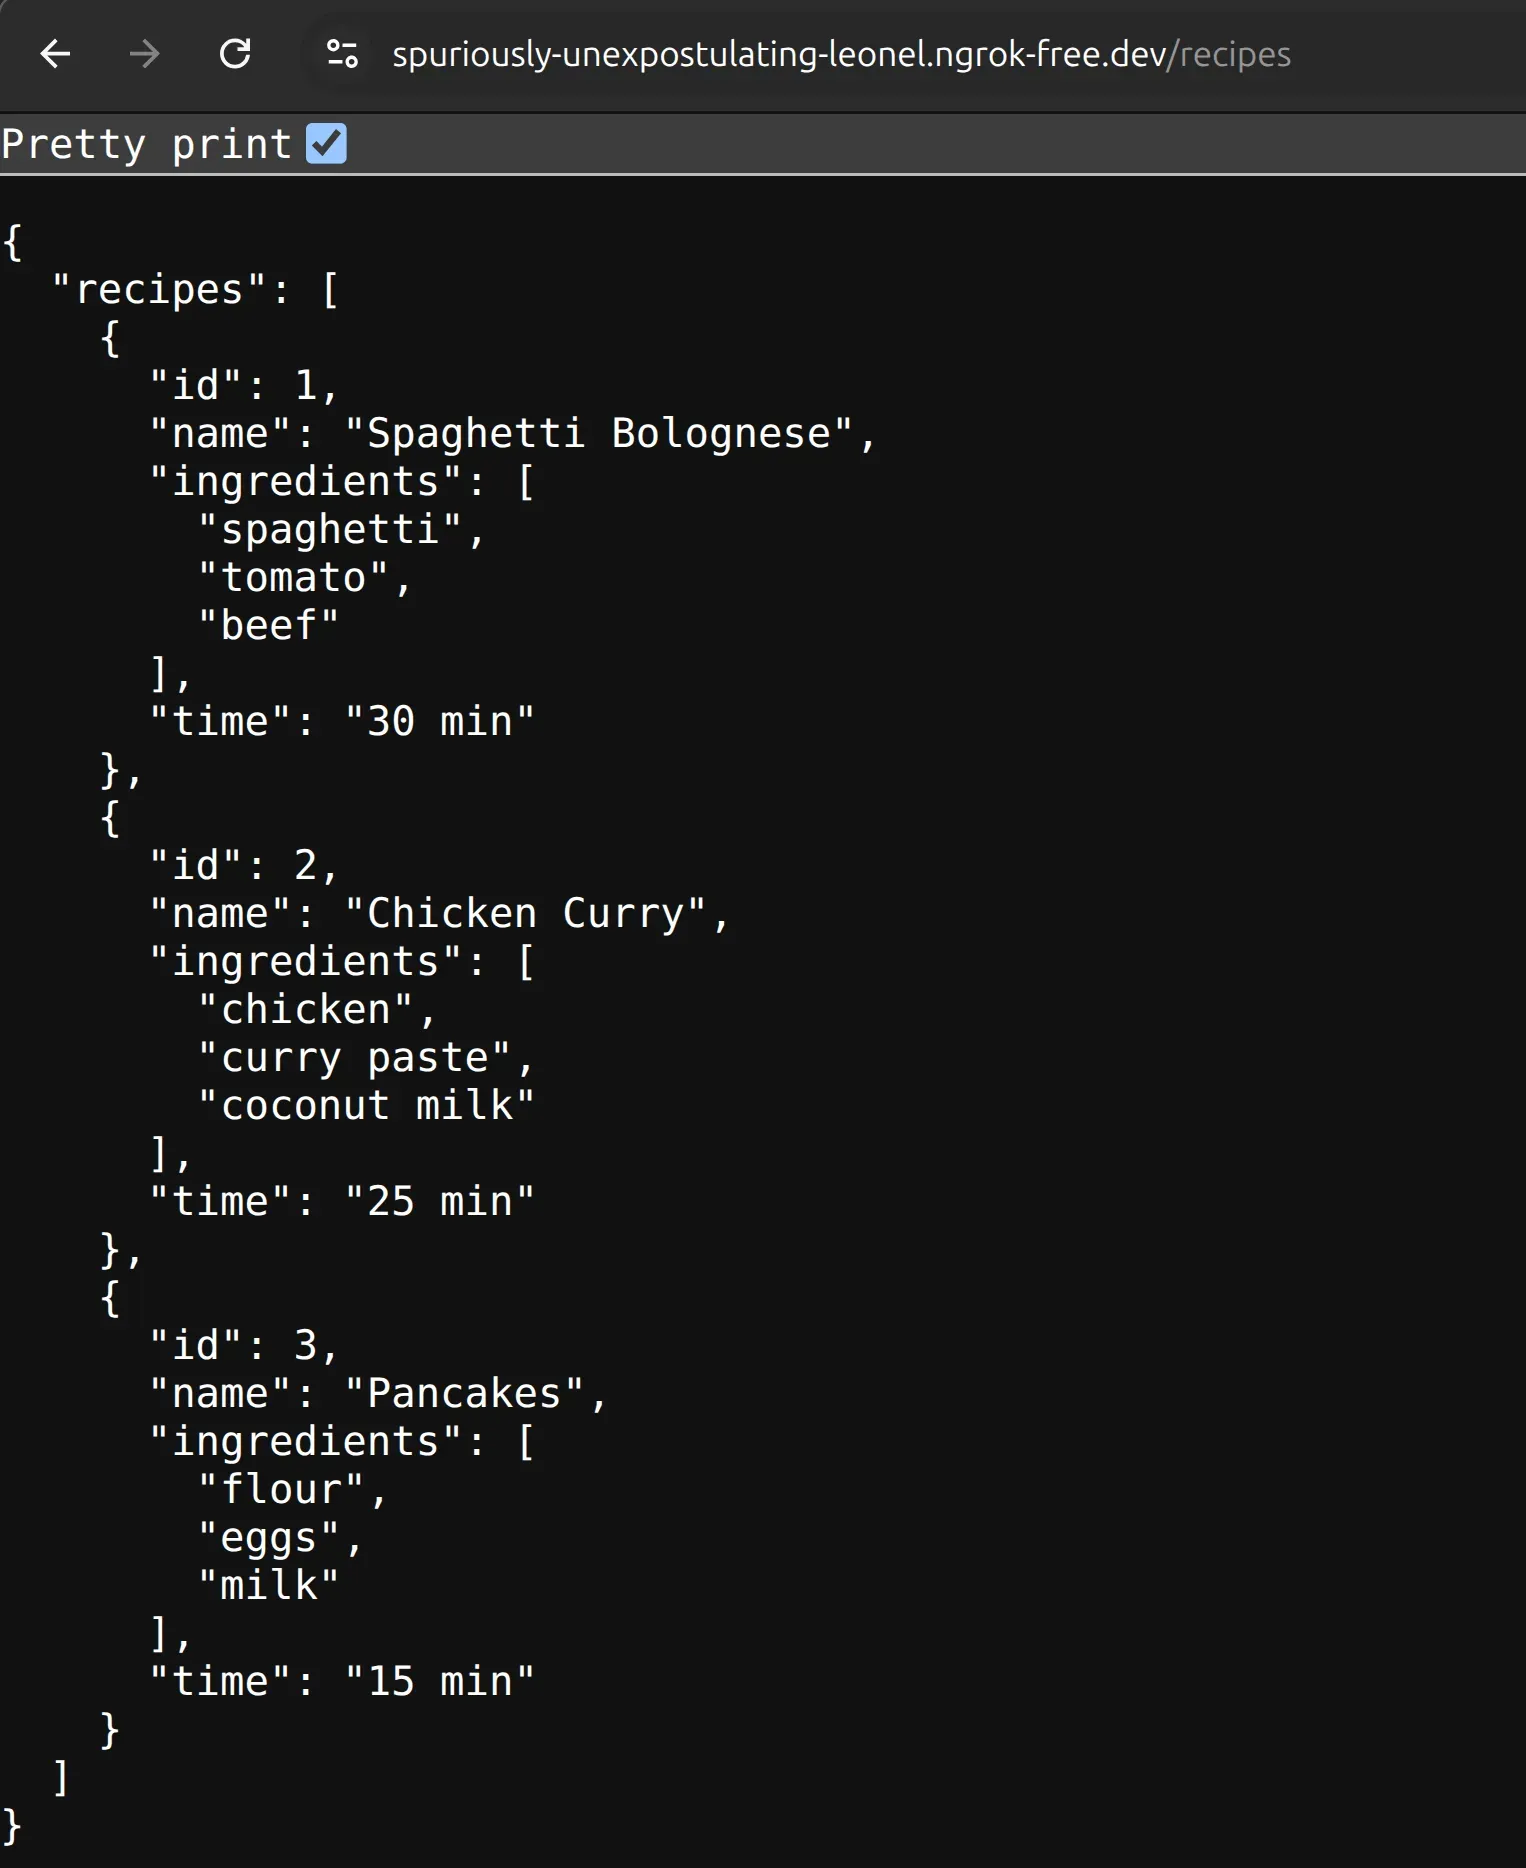
ngrok http 8000You should see something like this, where you are provided with the link that is accessible over the
internet. 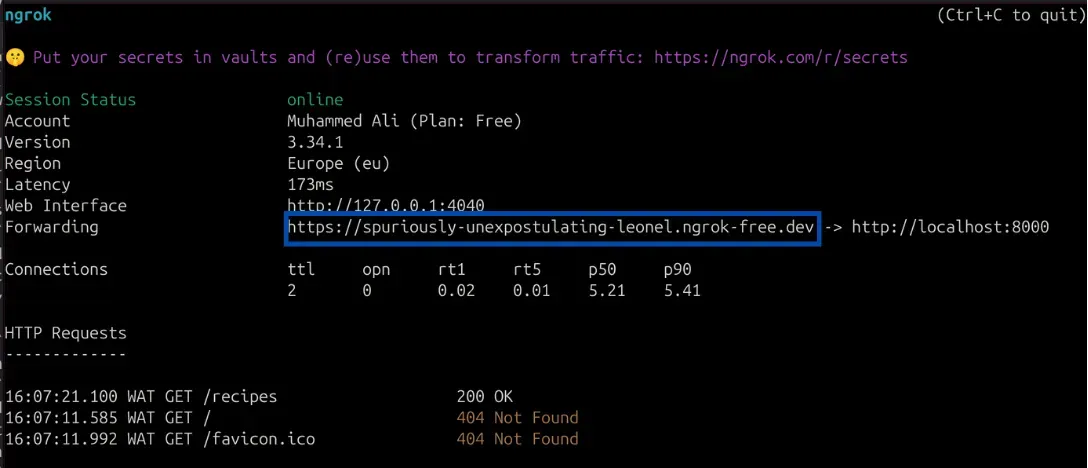
You can now access the app on the browser.
LocalXpose Overview
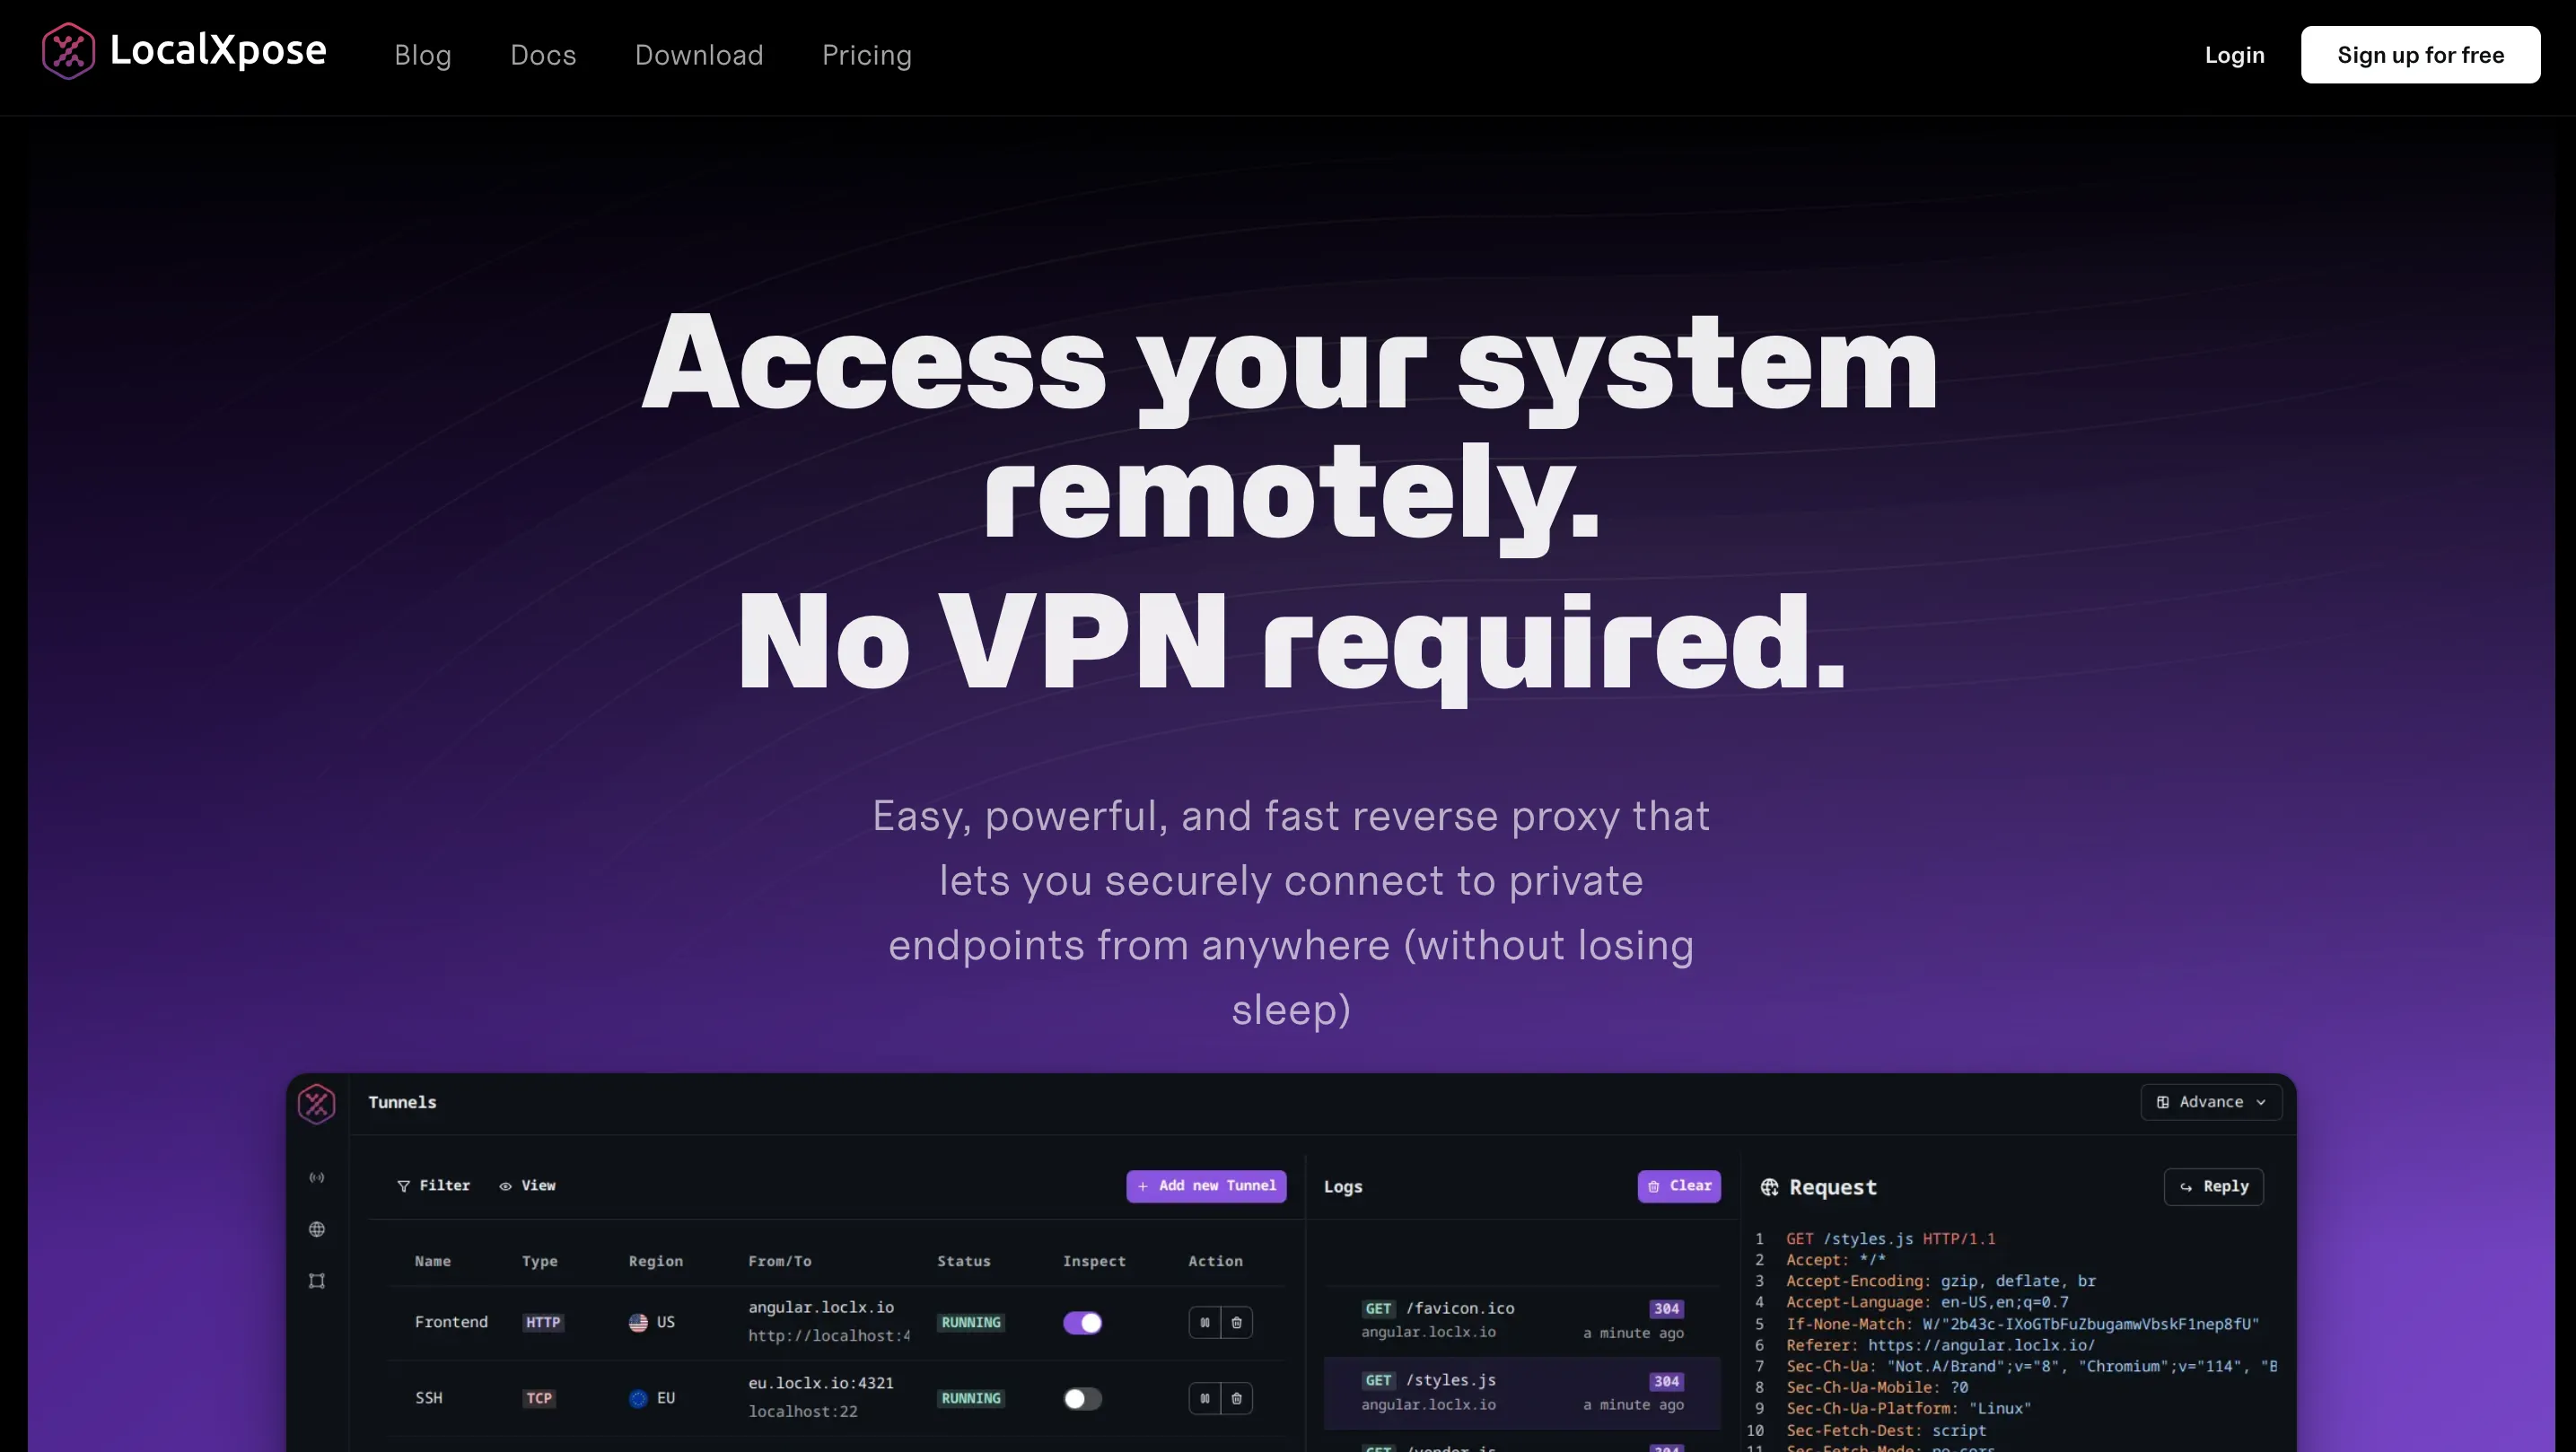
LocalXpose is a developer-focused localhost tunneling solution that combines ease of use with production-ready capabilities.
LocalXpose stands out with a generous free tier supporting all major protocols (HTTP/S, TCP, TLS, UDP) while offering unlimited bandwidth on paid plans, making it ideal for developers, homelabbers, and businesses that need reliable always-on tunnels without usage-based pricing surprises.
The platform includes built-in traffic encryption, automatic SSL certificates, and a unique file server feature for sharing directories over the internet.
Key Features
Here are some of the main features that are provided by LocalXpose out of the box:
- Easy-to-use CLI and intuitive desktop GUI
- Localhost tunneling with advanced access control (IP whitelisting, authentication)
- Real-time request logging and inspection
- Webhook payload replay and modification
- Custom domain support with wildcard capabilities
- Full protocol support: HTTP/S, TLS, TCP, and UDP
- Automatic Let’s Encrypt SSL certificates
- Built-in file server for sharing directories
Pros
- Production-ready from day one: always-on capability and unlimited bandwidth make the transition from development to production seamless.
- True multi-protocol support: UDP support enables gaming servers, VoIP, and IoT use cases that competitors can’t handle.
- Transparent pricing: no usage-based surprises or bandwidth overages on paid plans.
Cons
- Free tier limited to 2 HTTP tunnels
- No self-hosted option available
- No native Kubernetes operator (yet) - DevOps teams may need to build custom integrations for k8s deployments
- Mobile app not available
Example Usage
For LocalXpose, we will still work with the recipe API we used earlier. Here you also need to create an account on LocalXpose, then log in to access your dashboard to get your access token. Now, install LocalXpose on your local machine:
snap install localxposeNext, log in to your account using the CLI. You will be prompted to input your access token.
loclx account login
# or, on windows
loclx.exe account login
Now that you are logged in, putting your API on the internet only requires a single, simple command:
loclx tunnel http --to localhost:8000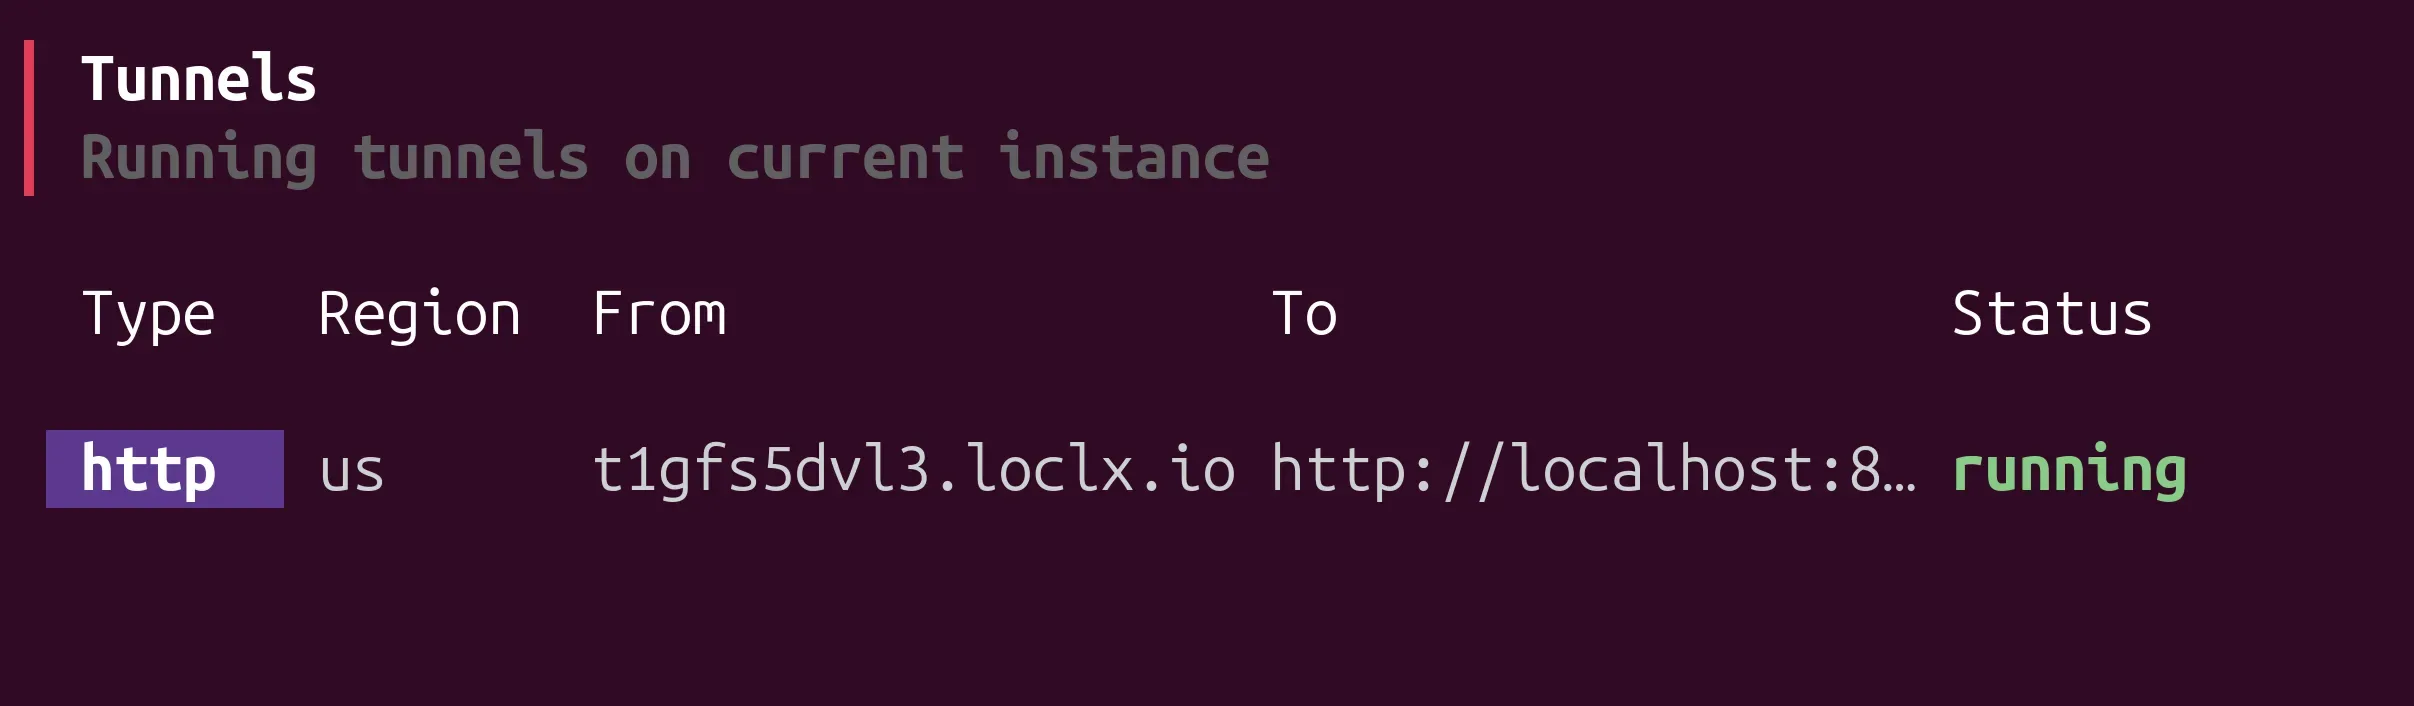
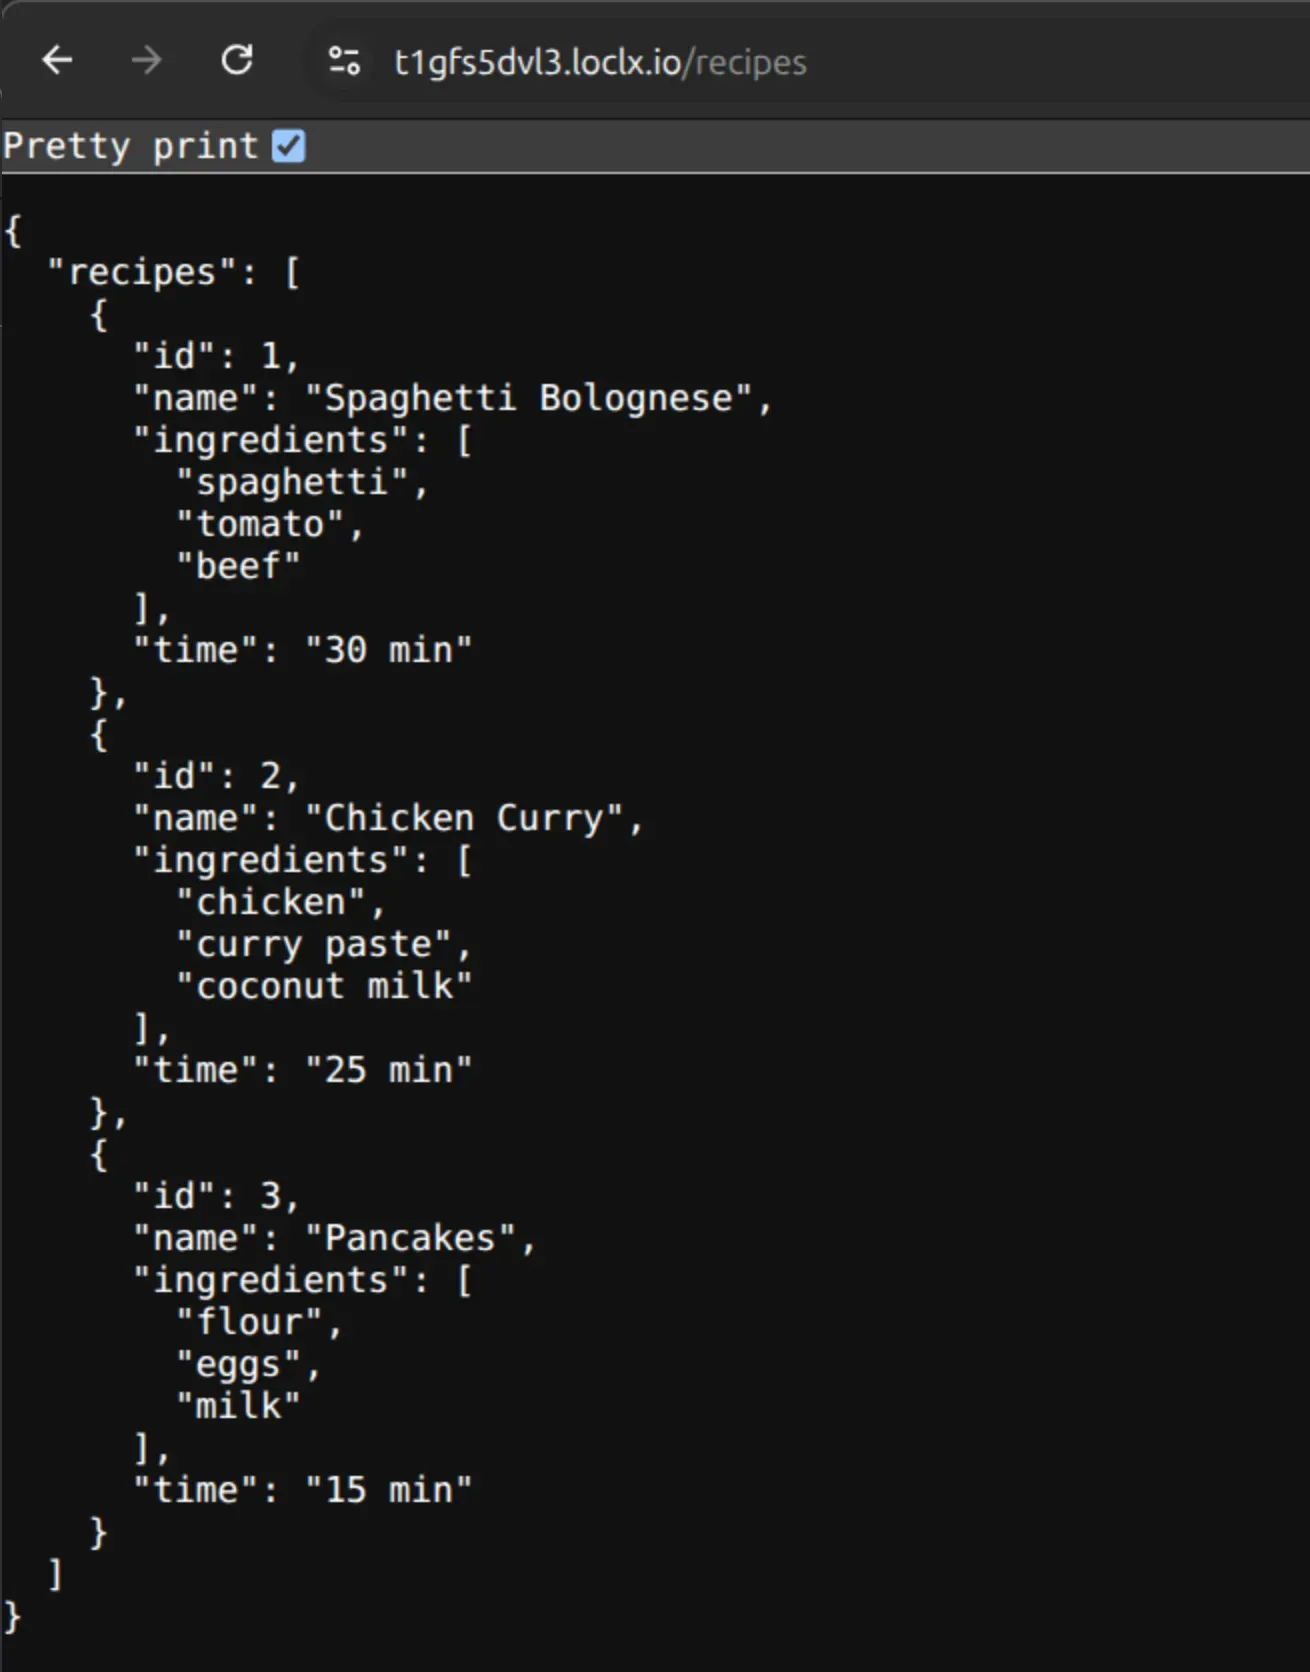
Your API is also available on the dashboard too:
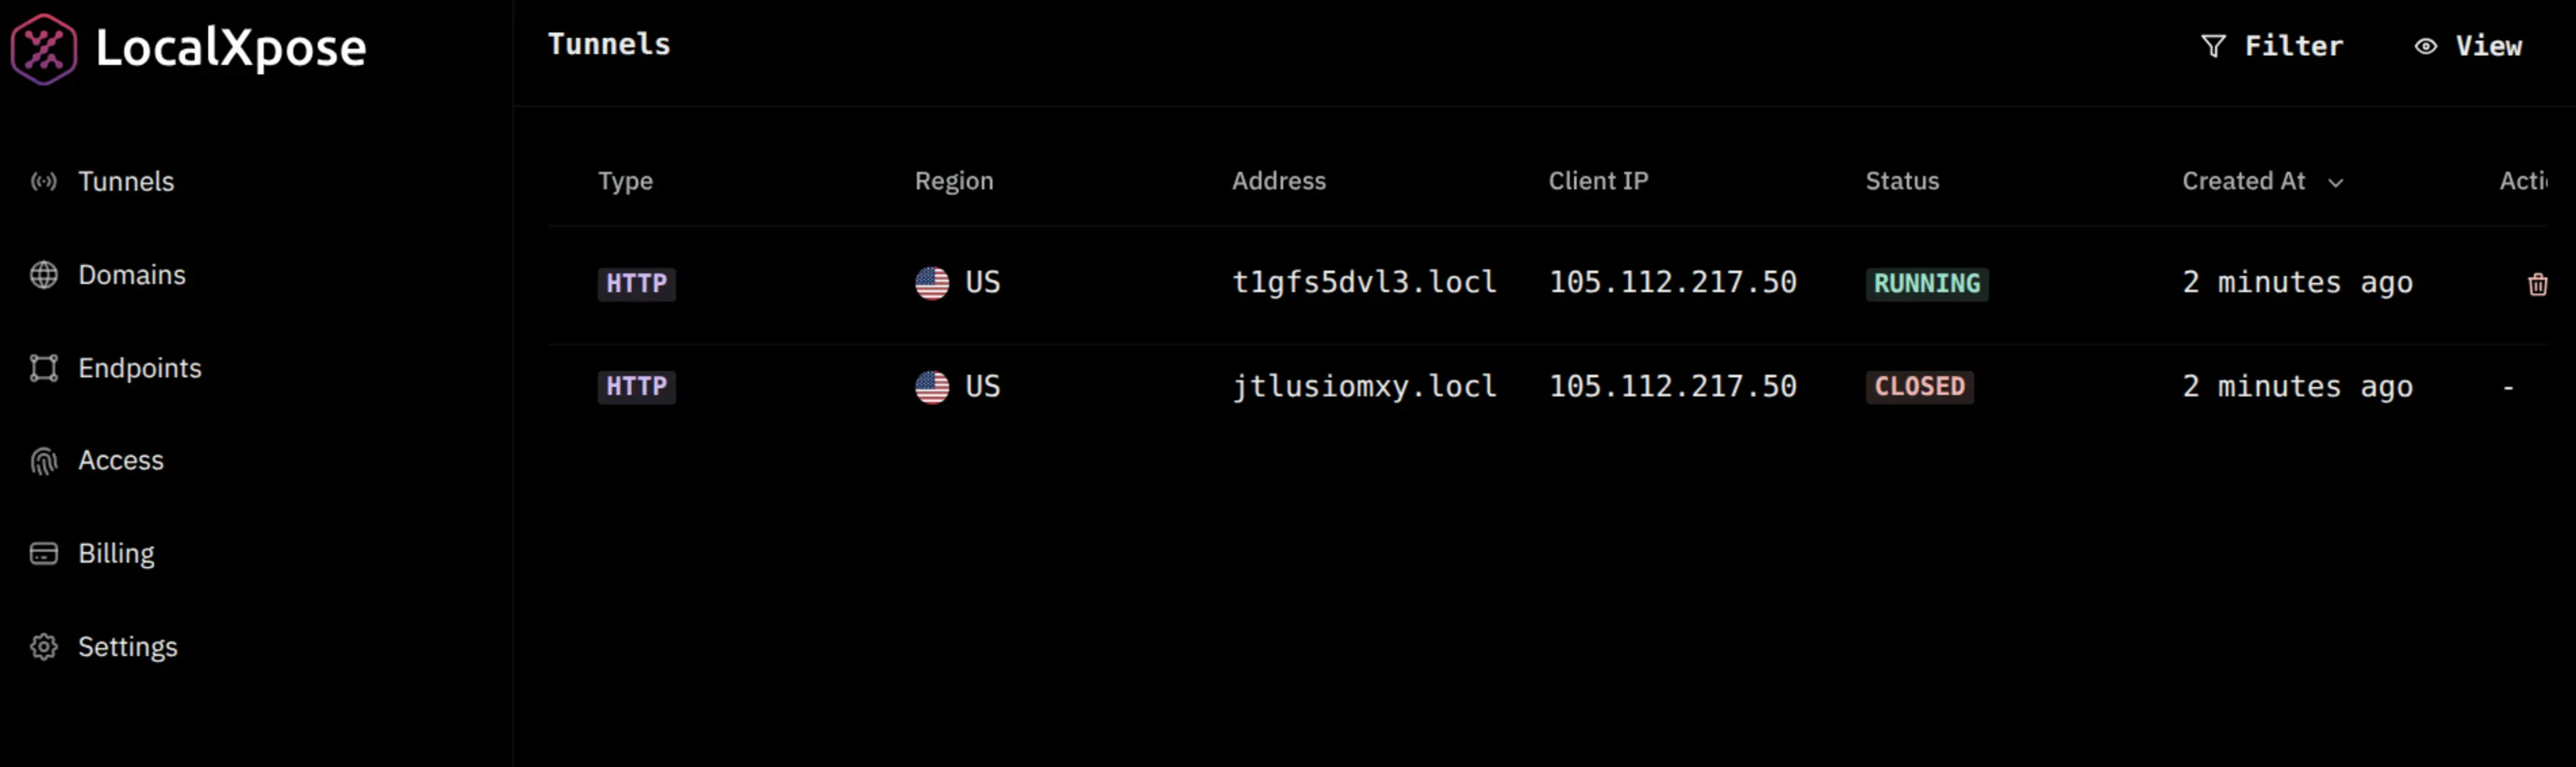
You can now access the app on the browser:
Pricing Comparison
Since LocalTunnel is open source and completely free, this section compares the paid tiers of ngrok and LocalXpose.
Free tier breakdown:
ngrok’s free tier provides only 1GB monthly bandwidth, 1 active endpoint, and 20K HTTP/S requests per month. Unlike a trial with expiring credits, this is an ongoing free tier, but with strict usage limits that reset monthly.
LocalXpose takes a different approach with an ongoing free tier: 2 HTTP tunnels with unlimited bandwidth on those tunnels. No credit depletion, no surprise upgrades, just continuous availability for development work.
Entry-level paid plans:
ngrok’s Personal plan runs $8/month (billed annually) or $10/month. You get 3 active endpoints, 5GB bandwidth included, 100K requests included, and custom ngrok domains. Once you exceed the included bandwidth or requests, you’ll pay for additional usage on top of the base plan cost.
LocalXpose Pro also costs $8/month ($96 annually), but here’s where it gets interesting: 10 active tunnels instead of 3, and truly unlimited bandwidth. No usage meters, no overage fees, no math. If you’re running multiple services, testing high-traffic webhooks, or just don’t want to babysit your bandwidth usage, this pricing model makes a lot more sense.
Enterprise tier:
ngrok’s Production tier starts at $20/month plus usage-based charges for anything beyond the included limits. You get unlimited endpoints, bring-your-own-domain support, and advanced traffic policies. It’s a solid choice if you need enterprise-grade networking features and don’t mind usage-based billing.
LocalXpose Enterprise plans come with priority support, 24/7 engineering response, migration help, and custom SLAs. Pricing depends on your specific needs, so you’ll want to reach out for a quote.
Here is a pricing comparison table for quick reference:
| Feature | ngrok Free | ngrok Personal | LocalXpose Free | LocalXpose Pro |
|---|---|---|---|---|
| Price | Free (ongoing) | $8/mo | Free (ongoing) | $8/mo |
| Active Endpoints | 1 online | 3 online | 2 HTTP tunnels | 10 tunnels |
| Bandwidth | 1GB/month | 5GB included | ✅ Unlimited | ✅ Unlimited |
| Requests | 20K/month | 100K included | ✅ Unlimited | ✅ Unlimited |
| Overage Charges | ❌ Hard limit | ✅ Pay extra | ❌ None | ❌ None |
| Custom Domains | 1 ngrok subdomain | ✅ Custom domains | ❌ | ✅ Full custom |
Local Tunneling Features Comparison
LocalTunnel, Ngrok, LocalXpose offer overlapping capabilities with vastly different implementation approaches. The following table will compare multiple features across the three tools.
| Feature | LocalTunnel | Ngrok | LocalXpose |
|---|---|---|---|
| Custom Domains | No | Yes (paid plans) | Yes (paid plans) |
| Wildcard Domains | No | Yes (paid plans) | Yes (paid plans) |
| Protocol Support | HTTP/HTTPS only | HTTP, HTTPS, TCP, TLS | HTTP, HTTPS, TCP, TLS, UDP |
| SSL/TLS Certificates | Basic HTTPS | Automatic with custom domains | Automatic Let’s Encrypt integration |
| Authentication | None built-in | OAuth, JWT, OIDC, IP restrictions (paid) | Scoped tokens, Basic Auth, IP whitelisting |
| Traffic Inspection | No | Yes (web interface with replay) | Yes (real-time logging with replay) |
| Rate Limiting | No | Yes (paid plans) | Yes (built-in plugin) |
| Request Replay | No | Yes | Yes |
| Global Edge Network | Limited server locations | Yes (multiple regions) | Yes (globally distributed gateways) |
| GUI Application | No (CLI only) | No (CLI only, web dashboard) | Yes (CLI + desktop GUI) |
| Always-On Tunnels | No (session-based) | Yes (paid plans with agents) | Yes (designed for 24/7 operation) |
| Built-in File Server | No | No | Yes |
| Team Collaboration | No | Yes (paid plans) | Yes (multiple seats on paid plans) |
| API Access | Limited | Yes (comprehensive API) | Yes (for automation/CI/CD) |
Local Tunneling Use Case Comparison
| Use Case | LocalTunnel | Ngrok | LocalXpose |
|---|---|---|---|
| Quick Local Testing | Excellent - fastest setup for basic HTTP testing | Excellent - simple setup with better reliability | Good - slightly more setup but more features |
| Webhook Development & Testing | Limited - no traffic inspection or replay | Excellent - traffic inspection, request replay, debugging tools | Excellent - real-time logging, payload replay, debugging interface |
| Production Deployments | Not recommended - no reliability guarantees or support | Good - with paid plans, agents, and SLAs | Excellent - designed for 24/7 always-on production use |
| IoT Device Management | Not suitable - HTTP only, unreliable | Possible - TCP support but may need enterprise plan | Excellent - TCP/UDP support, always-on tunnels, used by 500+ businesses |
| OAuth/Payment API Testing | Limited - basic HTTPS but no custom domains | Excellent - HTTPS, custom domains, stable callbacks | Excellent - automatic SSL certs, custom domains, reliable endpoints |
| Team Collaboration | No team features | Good - shared accounts, team management on paid plans | Good - multiple seats, team accounts on paid plans |
| Self-Hosting & Homelab | Limited - unreliable for persistent access | Good - stable with paid plans and reserved domains | Excellent - always-on capability, multiple protocols, purpose-built |
| Game Server Hosting | Not suitable - HTTP only | Limited - No UDP support | Good - TCP/UDP support, multiple protocols |
| CI/CD Integration | Limited - basic automation possible | Good - comprehensive API, ephemeral tunnels | Good - CLI automation, Docker support, config files |
| Remote Access to Customer Sites | Not suitable - no persistence or security features | Limited - possible but not primary focus | Excellent - specifically designed for this, eliminates firewall management |
| Cloud-native Applications | Not suitable - lacks containerization and orchestration features | Good - Docker support, API integration, Kubernetes operator | Good - Docker support, global network, automation-friendly |
| Pricing | Excellent - completely free forever | Limited - 1GB monthly cap | Excellent - ongoing free tier with unlimited bandwidth |
Conclusion
When comparing LocalTunnel vs ngrok vs LocalXpose, the right choice depends on your specific needs and budget.
LocalTunnel is perfect for quick, one-off testing with zero setup cost, but lacks reliability for anything beyond basic demos.
ngrok delivers traffic management and inspection tools with reliability, making it ideal for teams that need advanced networking features and don’t mind usage-based pricing with monthly bandwidth caps.
LocalXpose strikes the balance between ease of use and production readiness. With unlimited bandwidth, full protocol support (including UDP), and transparent pricing at the same $8/month entry point as ngrok, it’s particularly cost-effective for developers running multiple services, testing high-traffic webhooks, or needing always-on tunnels without surprise overage charges.
For production deployments, IoT device management, gaming servers, or 24/7 homelab access, LocalXpose’s multi-protocol support and always-on architecture make it the strongest choice.
The best way to decide? Test them with your actual workload. All three offer free tiers to evaluate real-world performance before committing to a paid plan.
