This tutorial assumes you have already installed LocalXpose & logged in (see getting started (opens in a new tab)& cli (opens in a new tab) ), also you have installed and setup openssh-server.
1. Reserve an endpoint with custom port
The command below will reserve an endpoint with custom port 2222 and region set to Asia Pacific.
$ loclx endpoint reserve --port 2222 --region apIf port '2222' is already reserved, you can use any other port.
2. Create a Systemd Unit file
To keep LocalXpose running in background during boot we create a localxposessh.service unit file.
sudo nano /etc/systemd/system/localxposessh.serviceand paste the following and save the file.
[Unit]
Description=LocalXpose Service to expose SSH port
After=network-online.target ssh.service

[Service]
ExecStart=/home/pi/loclx tunnel tcp --reserved-endpoint ap-1.loclx.io:2222 --to 22
Restart=always
RestartSec=15

[Install]
WantedBy=multi-user.target
Make sure to replace 'ap-1.loclx.io:2222' with your reserved endpoint.
3. Reload systemd daemon & enable service to start on boot.
sudo systemctl daemon-reload && sudo systemctl enable localxposessh.service4. Start SSH service & LocalXpose password service
sudo systemctl start ssh.service && sudo systemctl start localxposessh.service5. Add CNAME record for your custom domain (Optional)
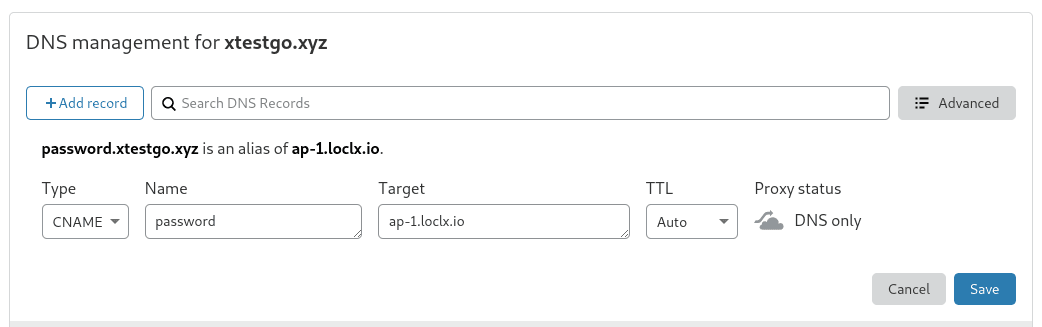
If you want to use custom domain name as endpoint, you will need to add a CNAME record similar to following screenshot.
6. Time to use KeePass
In this tutorial we used keepass2 v2.4 with plugin SftpSync enabled.
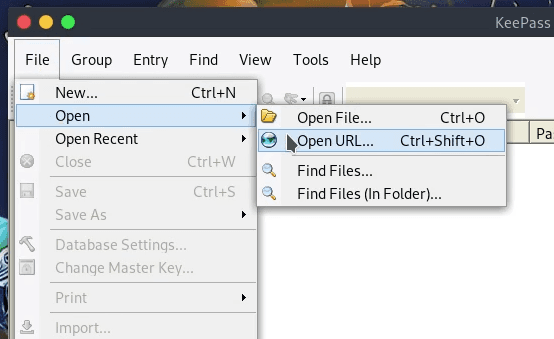
Open KeePass. Click on File > Open > Open URL.
Enter your URL along with path to your keepass database file. Also, provide your ssh authentication.
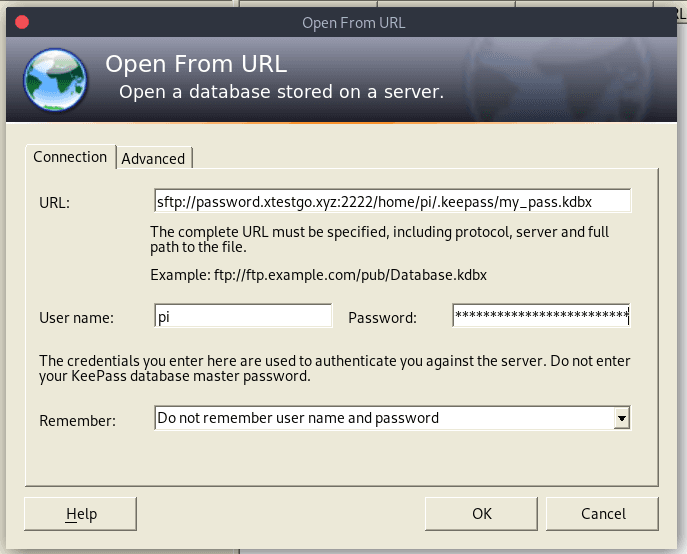
sftp: protocol (FTP over SSH)
password.xtestgo.xyz:2222 = Our custom domain name & Port ( use endpoint if you don't have domain)
/home/pi/.keepass/my_pass.kdbx = Absolute path to our keepass database file.
User name & Password = Your ssh credentials ( not keepass master password )
Once your database opens, enter your master key.
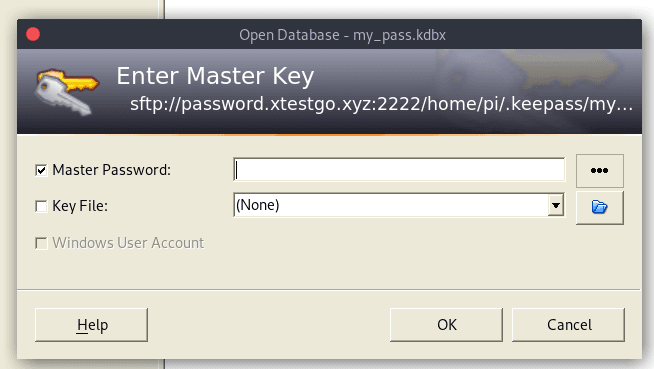
There you have it,
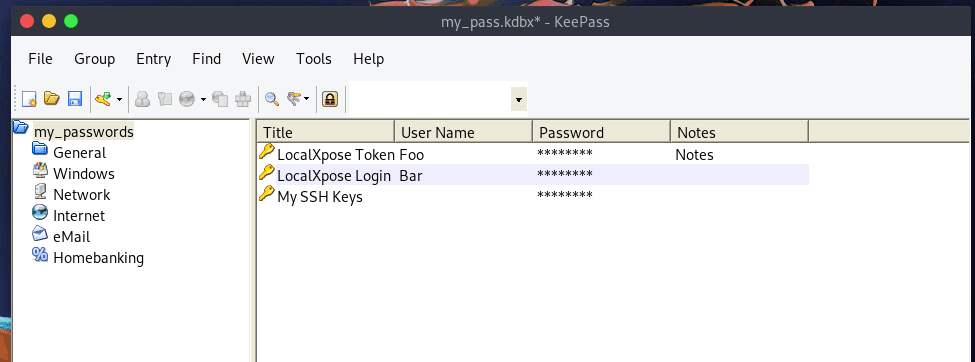
7. Open, Edit, Save.
You can now Edit & Save your keepass database. Your changes will be saved to your remote machine.
You can open the same URL in any keepass compatible application including one avaliable for Windows (opens in a new tab), Android (opens in a new tab)& macOS (opens in a new tab).