1. Installing Minecraft Launcher
Go to the official Minecraft site and download the game launcher. Once you download the game launcher, you can proceed with logging in.
2. Starting a map
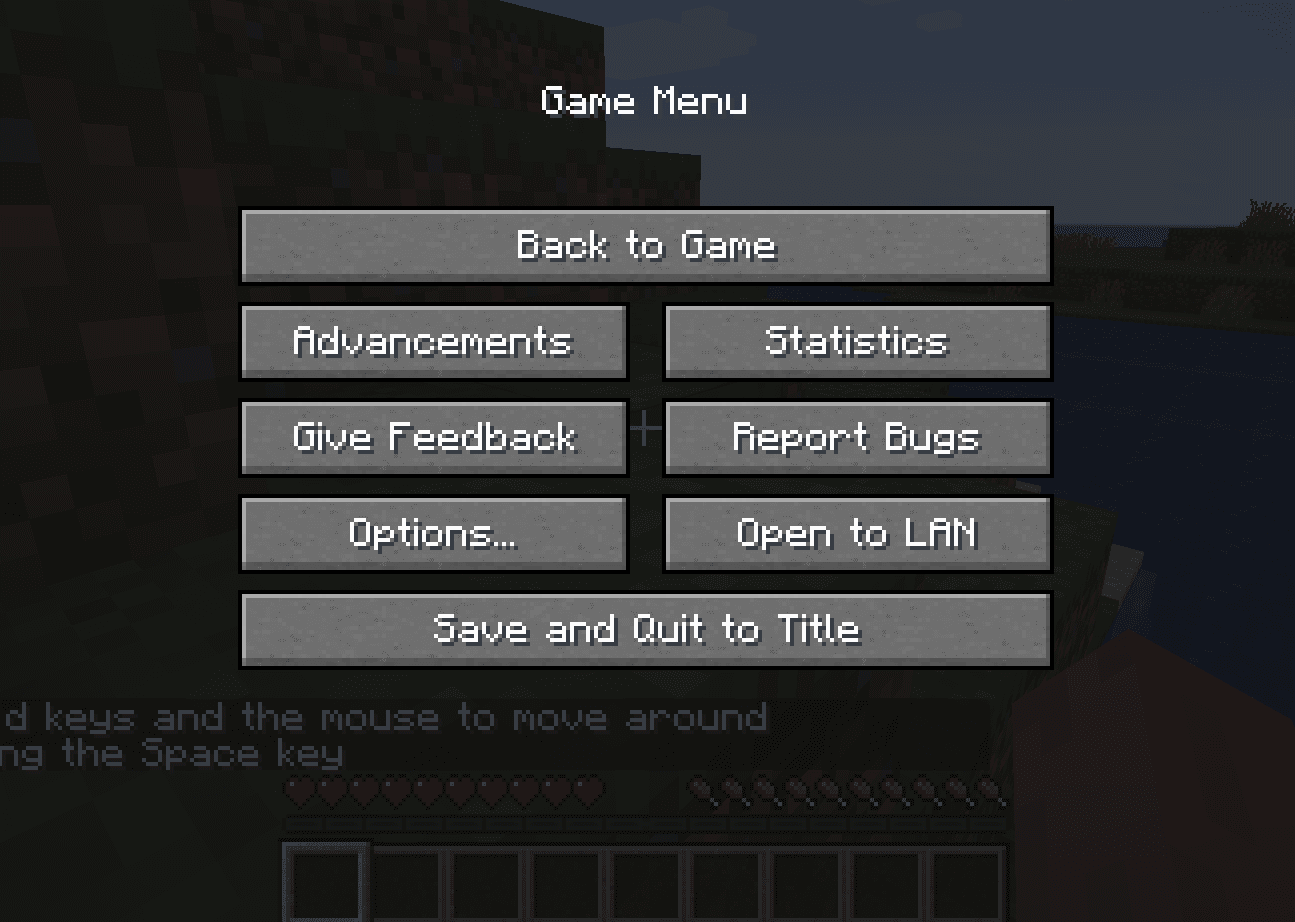
Once you have your Minecraft downloaded, you may start a map. Next click on "Open to LAN" to invite your friends to the map.
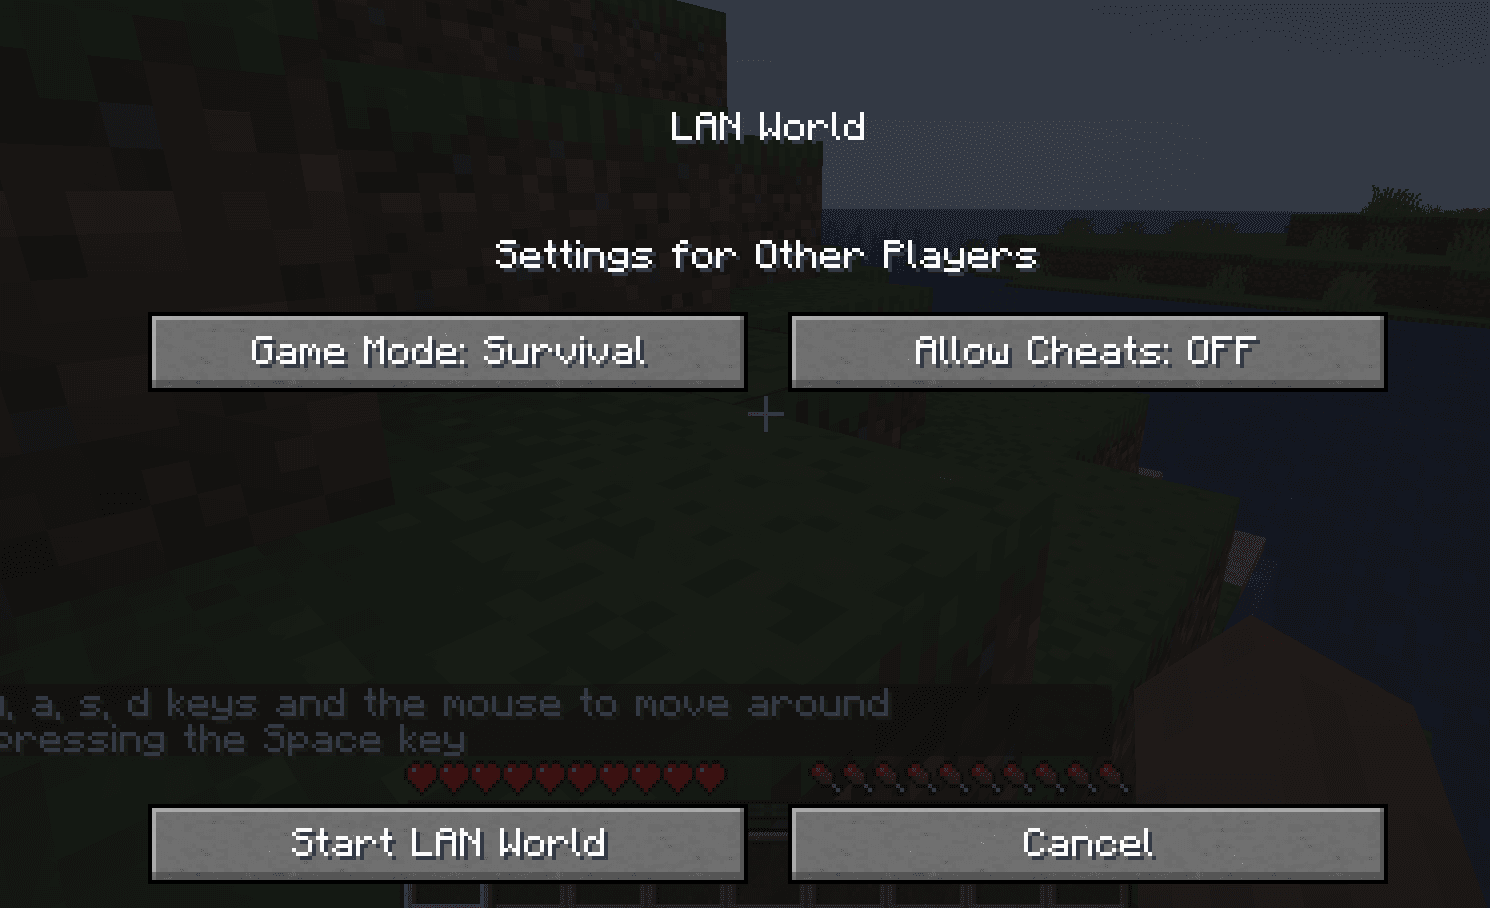
In the next menu, you can set some options for your friends. You should click on "Start LAN World" to start inviting players.
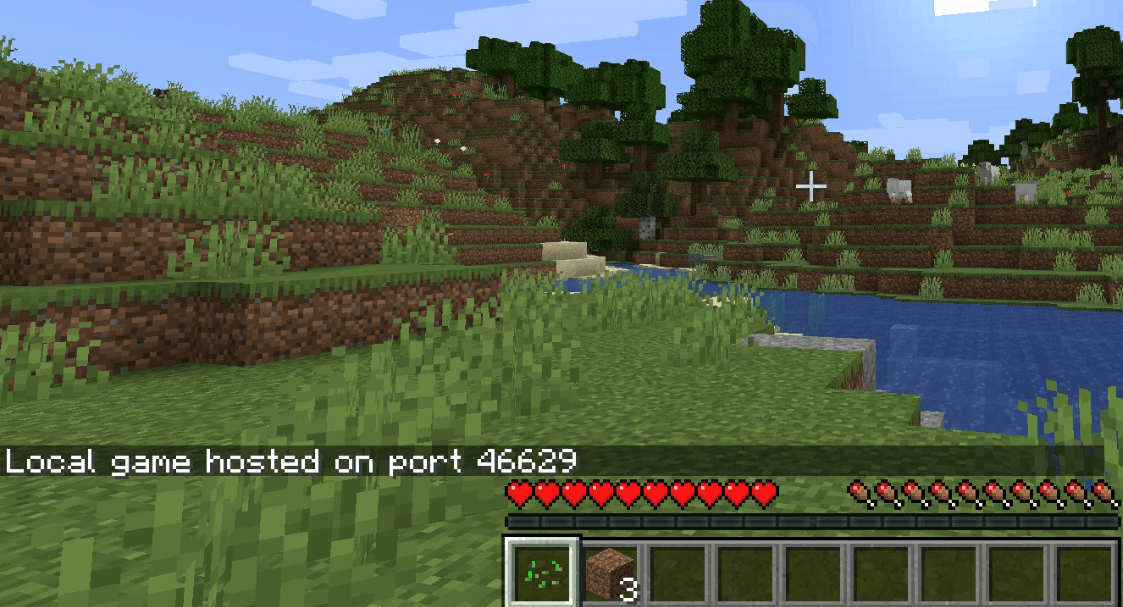
You should see Minecraft open a port for incoming multiplayer connection. In this case the port is 46629. Make a note of this value.
3. Exposing with LocalXpose
Next, You can go ahead and expose the port 46629 with LocalXpose.
This feature requires a PRO subscription.
Connect any device • Cancel any time
Note that the entry port and destination port do not necessarily need to be equal!
For example, let's expose local TCP port 46629 as the public port 42424.
loclx tunnel tcp --port 42424 --region ap --to 127.0.0.1:46629You should see something like the following.
✓ Creating TCP tunnel...
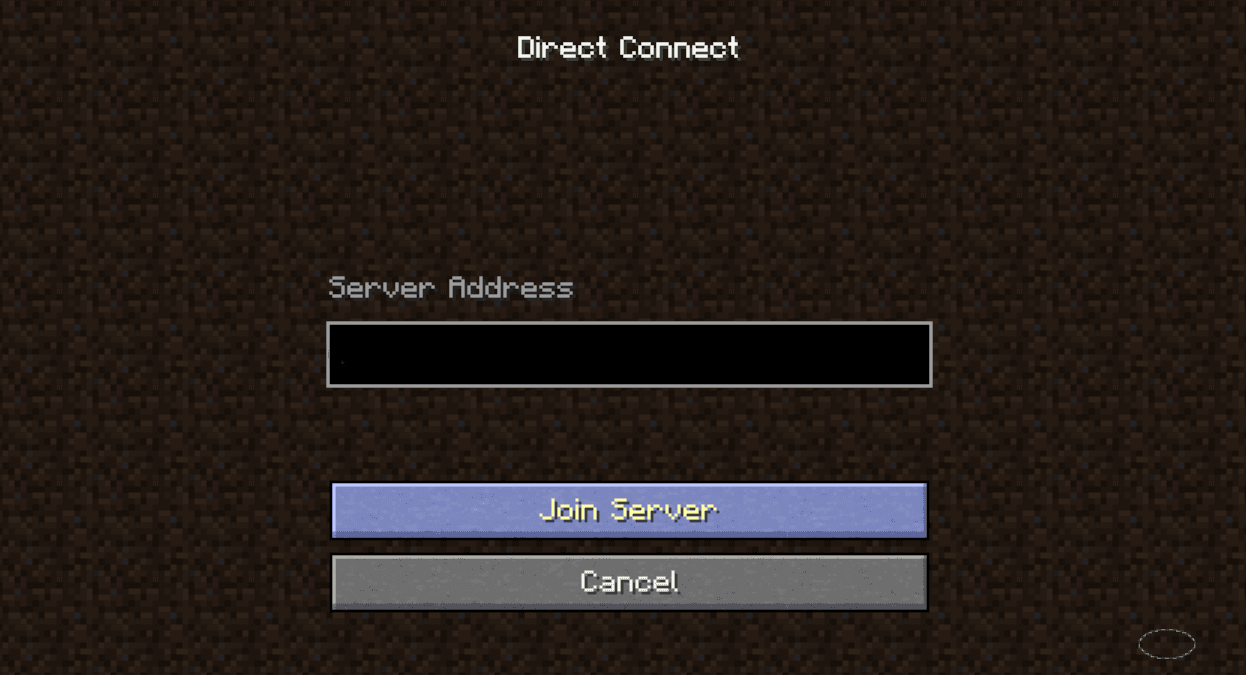
Tunneling TCP: ap-2.loclx.io:42424 --> 127.0.0.1:46629Your friends can use the public endpoint provided by LocalXpose ap-2.loclx.io:42424 in their Server Address field, to connect to your own local Minecraft instance.
For the lowest latency, choose the region closest to you and your
friends. If our example port 42424 is taken, choose another port between
1024 and 65535.
Note that you will need both Minecraft server and LocalXpose running in the background in order for your server to be accessible.
You should have no issues hosting your own Minecraft server on the public internet.
If you have any questions or you need assistance, we are available 24/7 at hello@localxpose.io.
No port forwarding required!
Join thousands of developers who rely on LocalXpose every day for their home automation, IT tools and security systems.
Connect any device • Cancel any time