1. Installing netdata
Netdata can be installed in various ways, you can follow official netdata install documentation (here (opens in a new tab)). However in this tutorial we shall be using docker image (opens in a new tab) to run netdata ( see netdata with docker (opens in a new tab) ).
docker run -d --name=netdata_localxpose \
  -p 19999:19999 \
  -v netdatalib:/var/lib/netdata \
  -v netdatacache:/var/cache/netdata \
  -v /etc/passwd:/host/etc/passwd:ro \
  -v /etc/group:/host/etc/group:ro \
  -v /proc:/host/proc:ro \
  -v /sys:/host/sys:ro \
  -v /etc/os-release:/host/etc/os-release:ro \
  --restart unless-stopped \
  --cap-add SYS_PTRACE \
  --security-opt apparmor=unconfined \
  netdata/netdata
You may add/remove the the bind mounts -v as needed.
You should see your netdata container running.
docker ps
CONTAINER ID IMAGE COMMAND CREATED STATUS PORTS NAMES
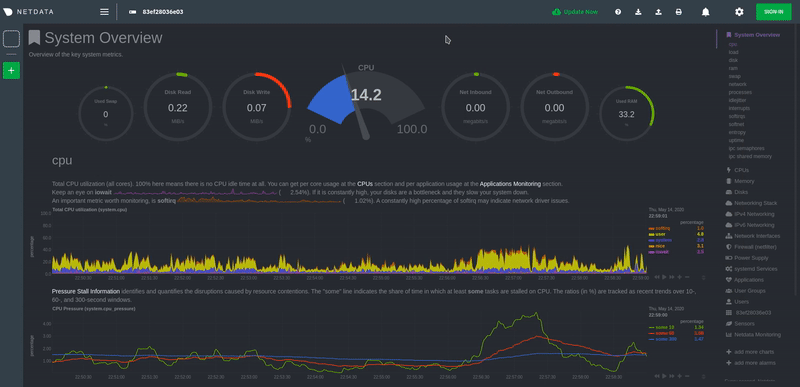
83ef28036e03 netdata/netdata "/usr/sbin/run.sh" 1 minutes ago Up 1 minutes 0.0.0.0:19999->19999/tcp netdata_localxposeOnce the docker container is created you can visit the netdata web UI at http://localhost:19999.
2. Expose netdata port
After we have successfully installed and started netdata, we can start to expose port 19999.
19999 is the default port of netdata web, but you can change it by editing
the netdata.conf file.
[web]
   default port = 19999 # Change the default port here.
Once done, you can proceed to forward the port with LocalXpose.
loclx tunnel http --basic-auth user:pass --to :19999
# We can use LocalXpose's authentication feature to set a password
✓ Creating HTTP tunnel...
Tunneling http://3ftj8wzsjmlc.loclx.io --> :19999
Tunneling https://3ftj8wzsjmlc.loclx.io --> :19999If you want to use your custom domain name or use your own SSL certs please follow Create a custom domain name or Make a Let's Encrypt certificate
3. Use netdata
Once you finish tunneling, you will receive a LocalXpose domain as in the screenshot above. Use the provided domain to view your netdata web UI.
The server should prompt for authentication, here you will provide the authentication credentials you have passed with **--basic-auth **option.
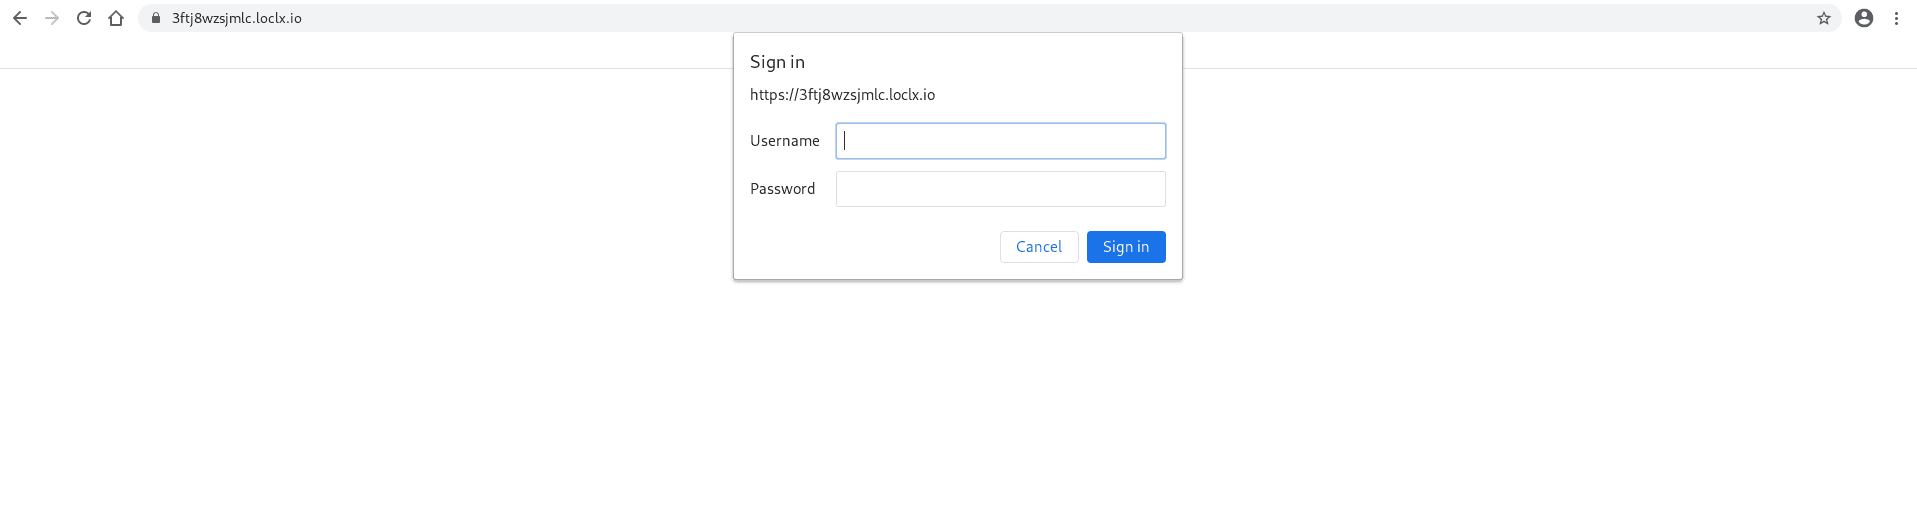
Once you provide your credentials clock on 'Sign In'. You should see your netdata web dashboard.
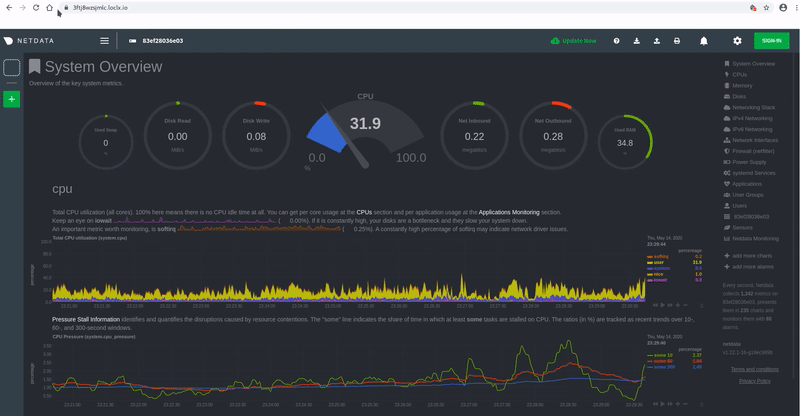
This is how you can expose your local netdata web server & access it from anywhere around the world.