Run Kubernetes at home like a PRO
For this tutorial we are using minikube (opens in a new tab) to run Kubernetes ("k8s" for short) on a single computer.
This is a great option for running Kubernetes without the cost and toil of managing multiple servers. Maybe you'd like to expose a local Kubernetes cluster on the public internet for a project demo. Or, maybe you want to see if K8s is a good fit for your home automation or homelab deployments.
Whatever your motivation, let's get Minikube, K8s, and LocalXpose playing nice together so that you can run your own platform from any network in the world.
Step one is installing Minikube.
1. Getting Kubernetes (minikube)
Minikube will allow you to setup a local cluster running Kubernetes on a Windows, macOS or Linux machine very easily. We'll wait here while you follow this guide (opens in a new tab) on how to setup minikube on your local machine.
Once you have Minikube, start it up as follows:
minikube startYou should see something like the following.
😄  minikube v1.10.1 on Debian Parrot
✨  Using the virtualbox driver based on existing profile
👍  Starting control plane node minikube in cluster minikube
🔄  Restarting existing virtualbox VM for "minikube" ...
🐳  Preparing Kubernetes v1.18.2 on Docker 19.03.8 ...
🌟  Enabled addons: dashboard, default-storageclass, storage-provisioner
🏄  Done! kubectl is now configured to use "minikube"
2. Getting Kubernetes CLI
To interact with your new Kubernetes cluster you will need kubectl installed.
You can follow the kubectl install guide (opens in a new tab), or try the following commands if you are on Linux.
# Download the kubectl binary
curl -LO https://storage.googleapis.com/kubernetes-release/release/`curl -s https://storage.googleapis.com/kubernetes-release/release/stable.txt`/bin/linux/amd64/kubectl

# Make the binary executable
chmod +x ./kubectl

# Move kubectl into $PATH
sudo mv ./kubectl /usr/bin/kubectl
Once you finished setting up kubectl, check its version. Try using it to check your new local cluster status.
kubectl version --client
Client Version: version.Info{Major:"1", Minor:"18", GitVersion:"v1.18.3", GitCommit:"2e7996e3e2712684bc73f0dec0200d64eec7fe40", GitTreeState:"clean", BuildDate:"2020-05-20T12:52:00Z", GoVersion:"go1.13.9", Compiler:"gc", Platform:"linux/amd64"}

kubectl get nodes
NAME       STATUS   ROLES    AGE    VERSION
minikube   Ready    master   3d3h   v1.18.2

kubectl get po -A
NAMESPACE              NAME                                         READY   STATUS    RESTARTS   AGE
kube-system            coredns-66bff467f8-k96mv                     1/1     Running   6          3d3h
kube-system            coredns-66bff467f8-txkn2                     1/1     Running   6          3d3h
kube-system            etcd-minikube                                1/1     Running   4          3d3h
kube-system            kube-apiserver-minikube                      1/1     Running   4          3d3h
kube-system            kube-controller-manager-minikube             1/1     Running   4          3d3h
kube-system            kube-proxy-rzzlq                             1/1     Running   4          3d3h
kube-system            kube-scheduler-minikube                      1/1     Running   4          3d3h
kube-system            storage-provisioner                          1/1     Running   6          3d3h
kubernetes-dashboard   dashboard-metrics-scraper-84bfdf55ff-sjs97   1/1     Running   4          2d6h
kubernetes-dashboard   kubernetes-dashboard-696dbcc666-lvzjl        1/1     Running   6          2d6h
3. Create & Run your Service (nginx)
Now that we have a local Kubernetes, let's deploy a simple nginx web-server.
# Deploy the nginx image to our cluster:
kubectl create deployment nginx-server --image=nginx
deployment.apps/nginx-server created

# Get the status of the running nginx pods:
kubectl get pods
NAME                            READY   STATUS    RESTARTS   AGE
nginx-server-69886f95bc-l5zf2   1/1     Running   0          103s
4. Expose Nginx Pod with NodePort
In order to access the service in our newly created nginx pod, we need to expose port 80 using NodePort service like following.
$kubectl expose deployment nginx-server --type=NodePort --port=80
service/nginx-server exposed
Find the the NodePort assigned to our nginx pod.
$kubectl get svc
NAME TYPE CLUSTER-IP EXTERNAL-IP PORT(S) AGE
kubernetes ClusterIP 10.96.0.1 <none> 443/TCP 3d4h
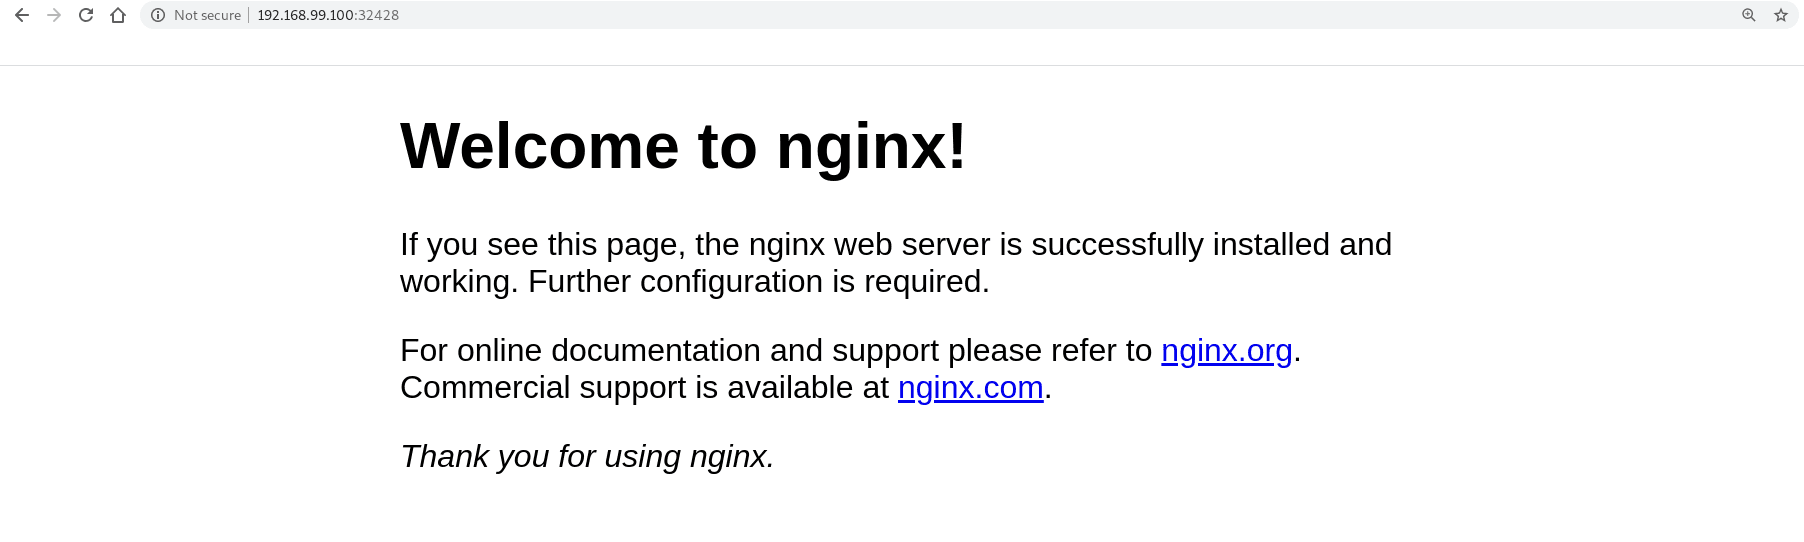
nginx-server NodePort 10.107.60.216 <none> 80:32428/TCP 9m38sAlternatively, you can get it with:
kubectl get --namespace default -o jsonpath="{.spec.ports[0].nodePort}" services nginx-serverVerify you can access the default nginx welcome page on the Kubernetes node, e.g., http://192.168.99.100:32428.
5. Expose Port assigned by NodePort
Now that we can access our nginx service on port 32428, we can connect loclx to it, in order to reach it through the LocalXpose network (opens in a new tab).
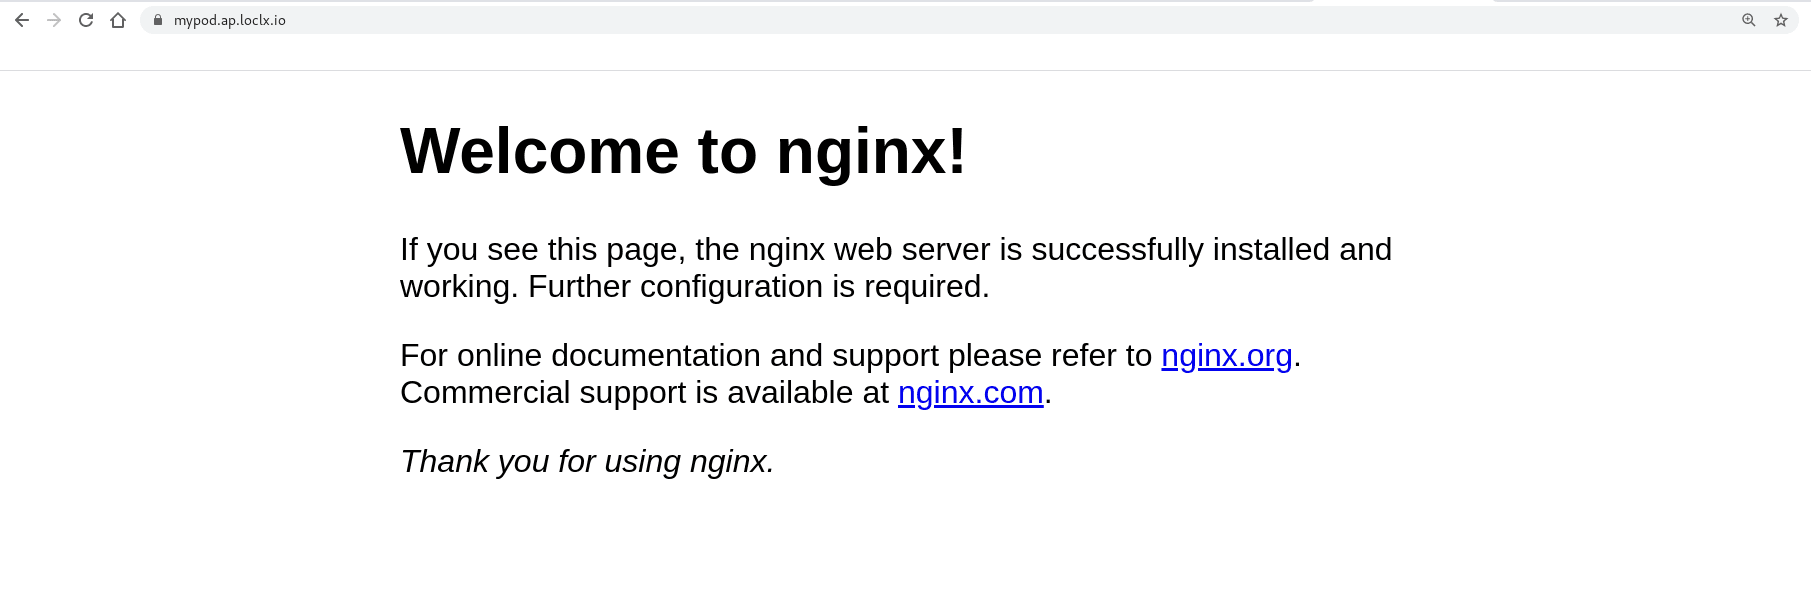
loclx tunnel http --to 192.168.99.100:32428 --subdomain mypod --region ap✓ Creating HTTP tunnel...
Tunneling http://mypod.ap.loclx.io --> 192.168.99.100:32428
Tunneling https://mypod.ap.loclx.io --> 192.168.99.100:32428You should be able to access nginx from the domain provided by LocalXpose (opens in a new tab).
6. Kubernetes Dashboard
Similarly, if you want to expose your kubernetes dashboard you can use Minikube or kubectl.
minikube dashboard --url=true
🤔  Verifying dashboard health ...
🚀  Launching proxy ...
🤔  Verifying proxy health ...
http://127.0.0.1:36537/api/v1/namespaces/kubernetes-dashboard/services/http:kubernetes-dashboard:/proxy/
kubectl proxy --address='0.0.0.0' --disable-filter=true
[W0529 01:25:13.905234 23151 proxy.go:167] Request filter disabled, your proxy is vulnerable to XSRF attacks, please be cautious
Starting to serve on [::]:8001Now, depending on which approach you've taken, expose 36537 or 8001 with LocalXpose.
loclx tunnel http --to 0.0.0.0:36537 --subdomain dashboard --region ap
✓ Creating HTTP tunnel...

Tunneling http://dashboard.ap.loclx.io --> 0.0.0.0:36537
Tunneling https://dashboard.ap.loclx.io --> 0.0.0.0:36537
You will see your dashboard via https://dashboard.ap.loclx.io/api/v1/namespaces/kubernetes-dashboard/services/http:kubernetes-dashboard:/proxy/#/overview.
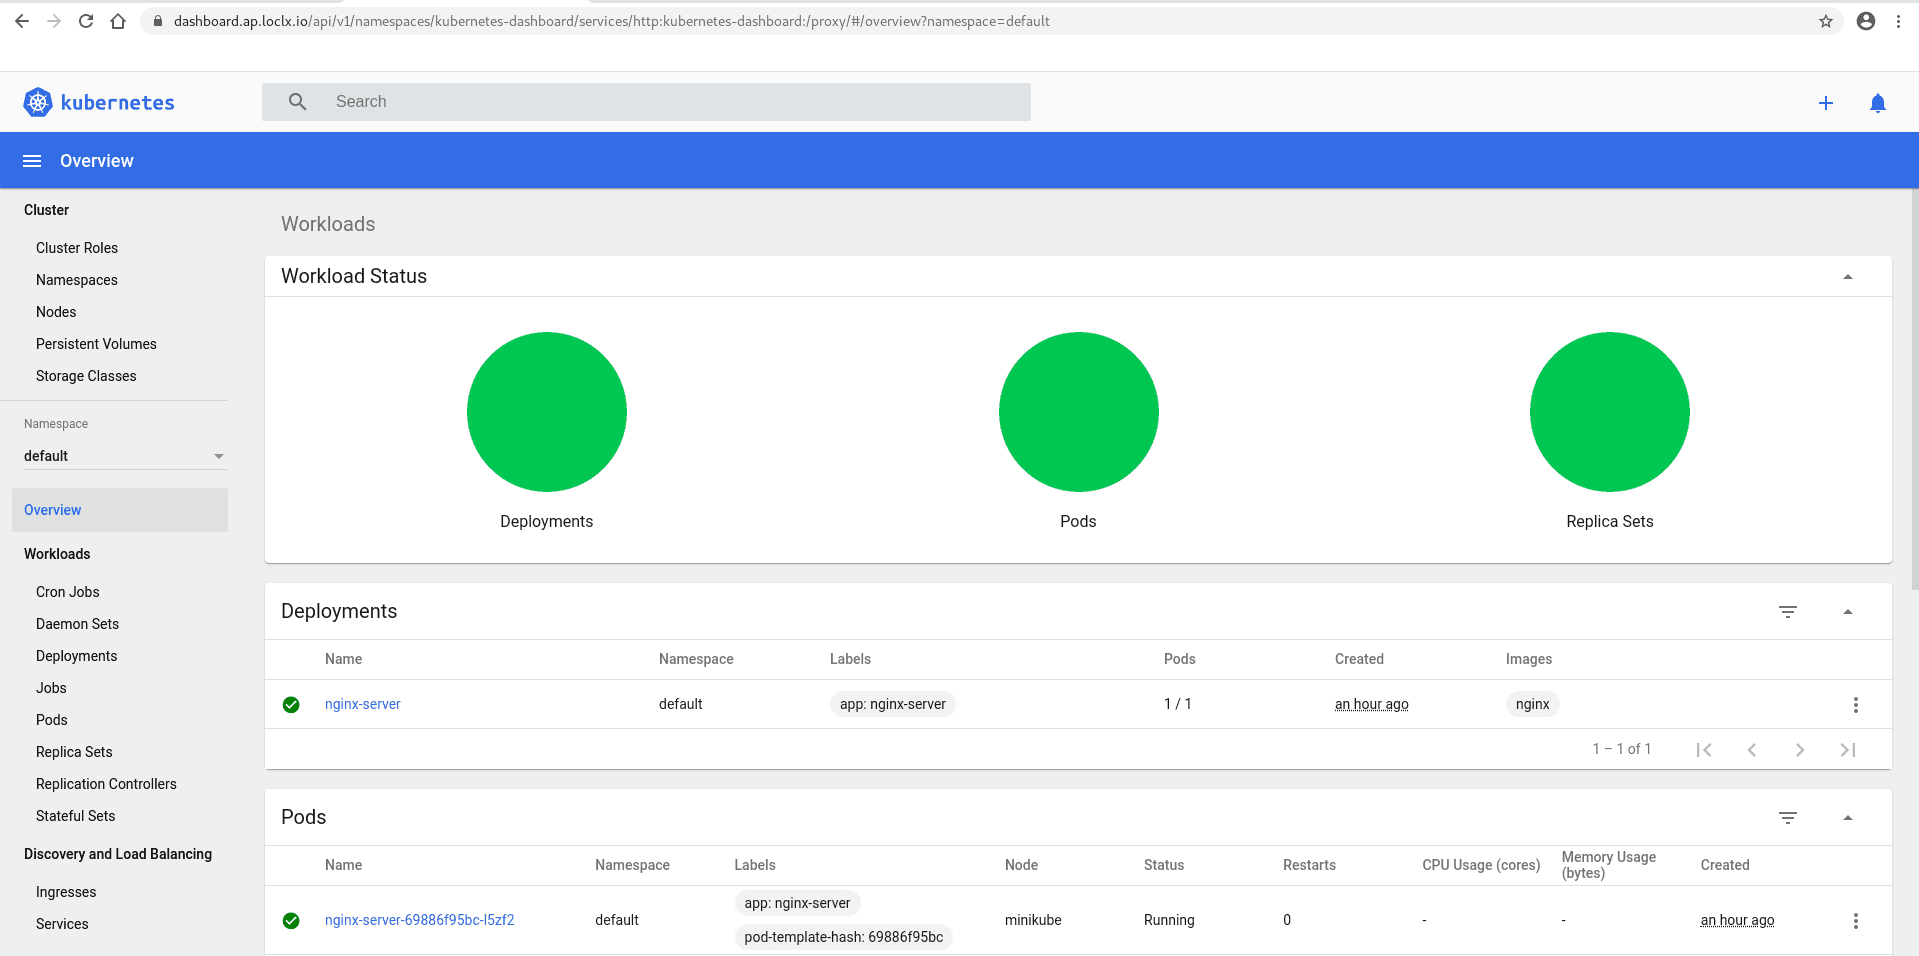
From here you can manage your Kubernetes Cluster!
You may wish to enable authentication on your dashboard, or use one of our supported HTTP plugins for tunnel auth.
If you want to replace loclx.io with a custom domain or use SSL certificates, please see Create a custom domain name or Make HTTPS certificate on localhost.
Want to take your project to the next level?
Free plan available • No credit card required