Use your own domain instead of localhost
This feature requires a PRO subscription.
Connect any device • Cancel any time
1. Buy a domain name
This tutorial assume you have already purchased a domain from domain registrar, such as GoDaddy, DNSimple, Namecheap, etc.
We will be using Namecheap in this tutorial, but all registrars will have a similar user interface.
2. Reserve it on LocalXpose
After you bought a domain name you can now reserve it on LocalXpose as follows:

Make a note of the value which will be used in a later step.
3. Add CNAME record
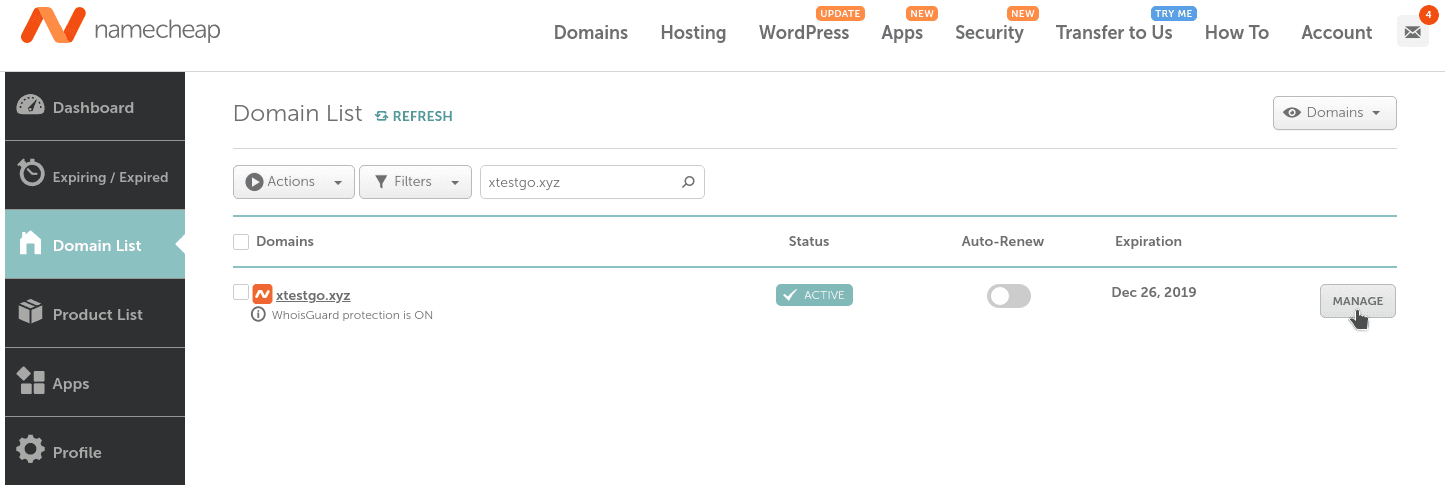
From Namecheap dashboard --> Domain List --> click on "Manage" button
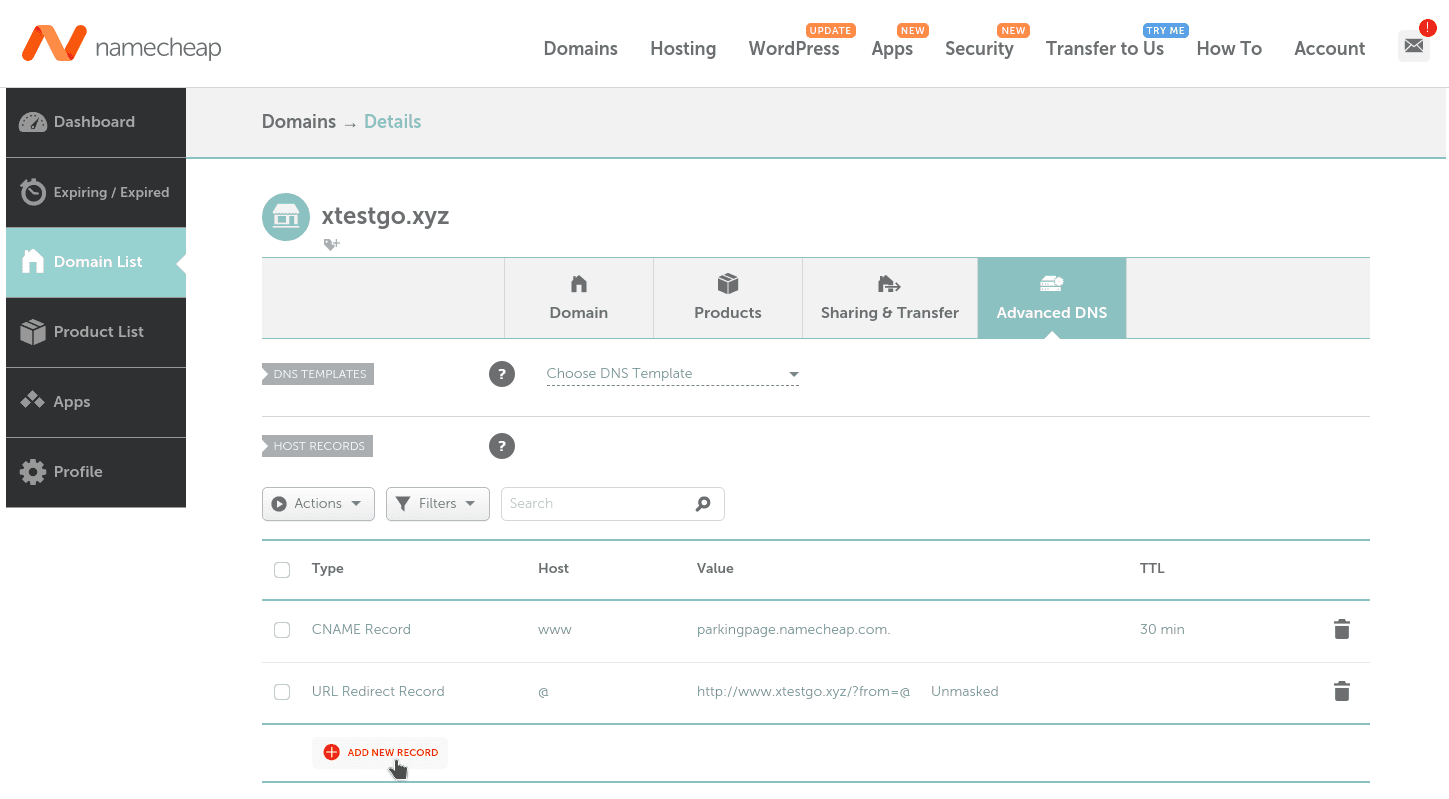
Go to Advanced DNS

Click "Add New Record"
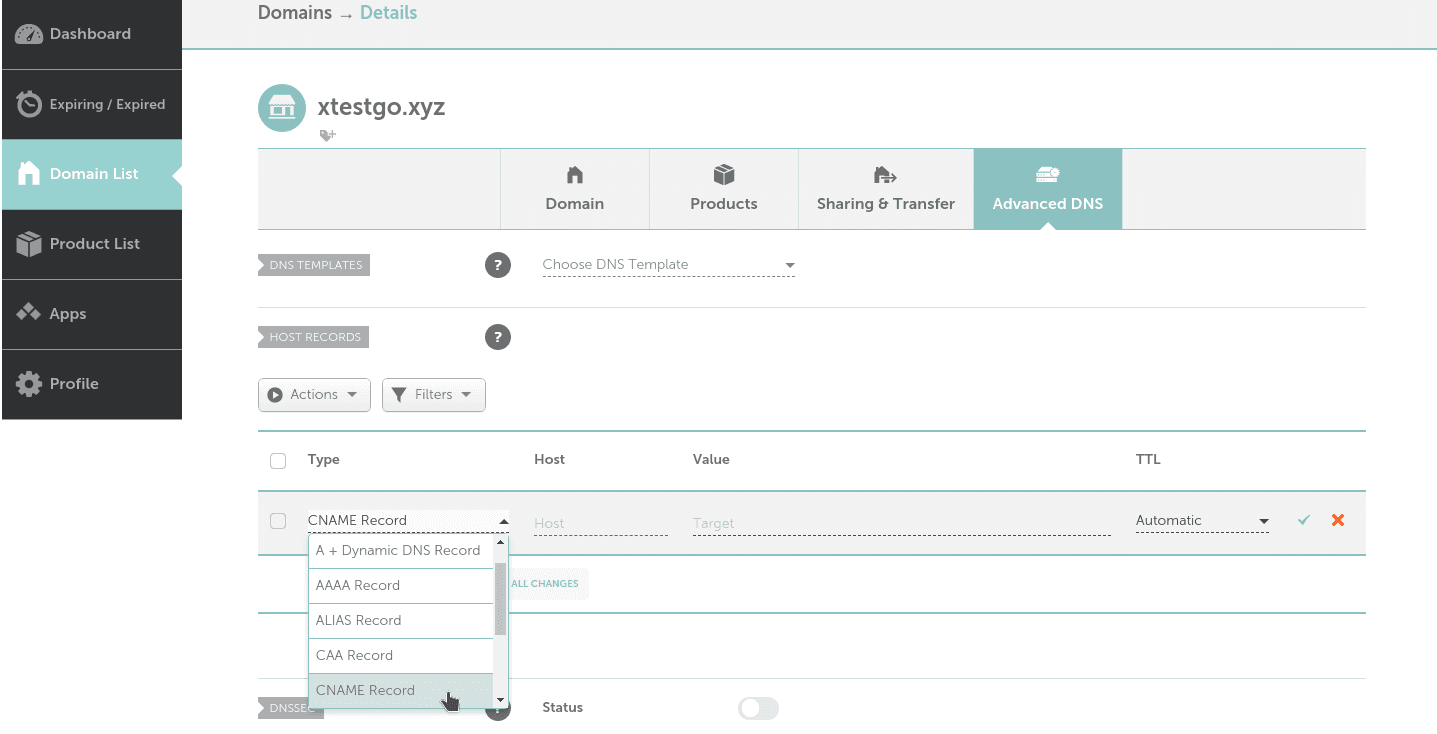
From the dropdown menu, select "CNAME".
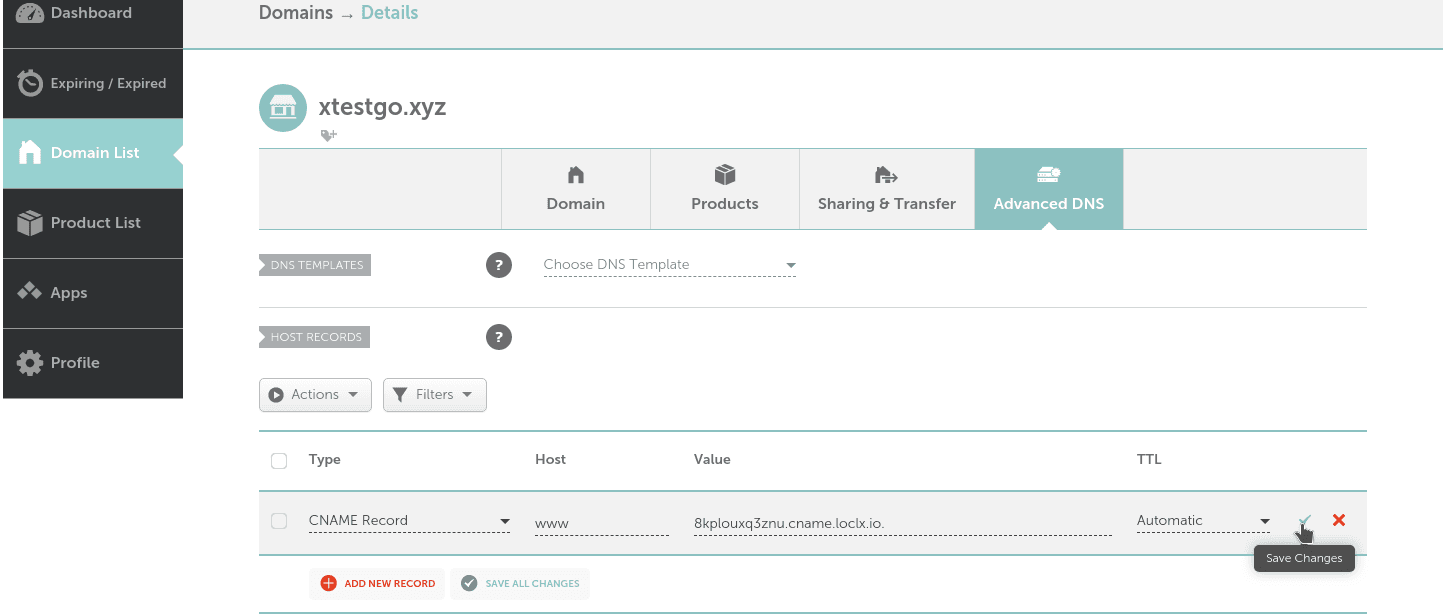
Finally, enter the host and value which you reserved from step 2, in our case the host is www.xtestgo.xyz and the value is 8kplouxq3znu.cname.loclx.io and then click "Save Changes"
4. Verify CNAME record
You can use the status command to verify whether the CNAME has been configured successfully.
loclx domain status --domain www.xtestgo.xyz5. Start a tunnel
Finally you can use the reserved custom domain name in your tunnel
loclx tunnel http --reserved-domain www.xtestgo.xyzVisit your custom public domain, running on your private network!
Ready to do more? Join thousands of developers running their own piece of the internet.
Free plan available • No credit card required